10-Write the system onto your own solid-state drive
1. Preparations before writing
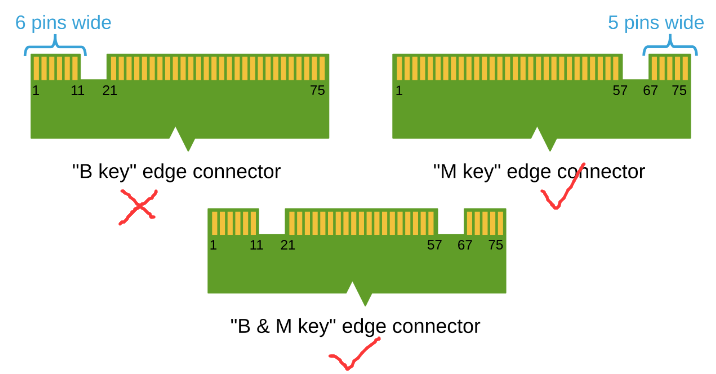
The supplied SSD is only compatible with M.2 Key M and M.2 Key B+M interface SSDs, and is not compatible with M.2 Key B interface SSDs. The storage capacity must be at least 256GB.
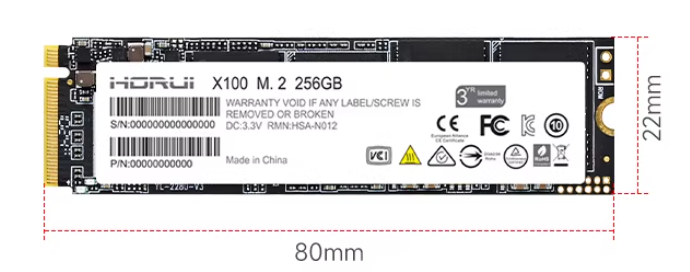
The recommended size is 2280 mm (22 x 80 mm).
2. writing the HemiHex Factory System
Important Notes for Using the HemiHex Factory Image: For the motherboard to boot, two conditions must be met: Super Boot must be burned, and the Yabooom factory image must be flashed onto the SSD. Both are indispensable; otherwise, the system will not boot. (Must Read)
1.Write SUPER boot
: If you purchased the SUB version package, the Super boot is already flashed at the factory, so you do not need to flash the Super bootloader again and can skip this step.
For Write SUPER boot, please refer directly to the tutorial 【 07. Flashing the SUPER Bootloader (Official Kits Must Read ) 】.
2. Burning the HemiHex factory image to the solid-state drive
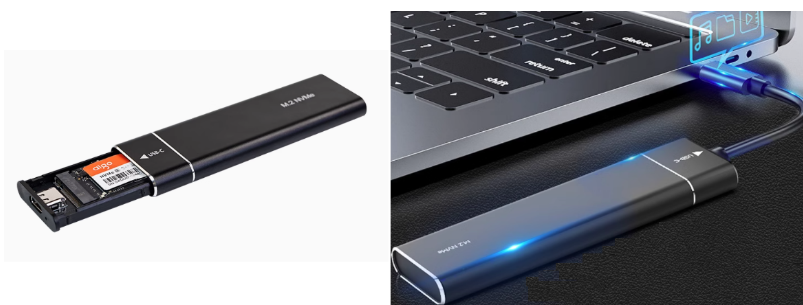
Before burning, install the solid-state drive into the solid-state drive enclosure.
2.1. Format the SSD
Before restoring the factory image, you need to format the SSD into exFAT format.
2.1.1. Download DiskGenius
Download URL: https://www.diskgenius.com/

Double-click the exe file you just downloaded to install DiskGenius. Follow the prompts to install the software on the Windows computer. After opening the software, it will be as shown below.
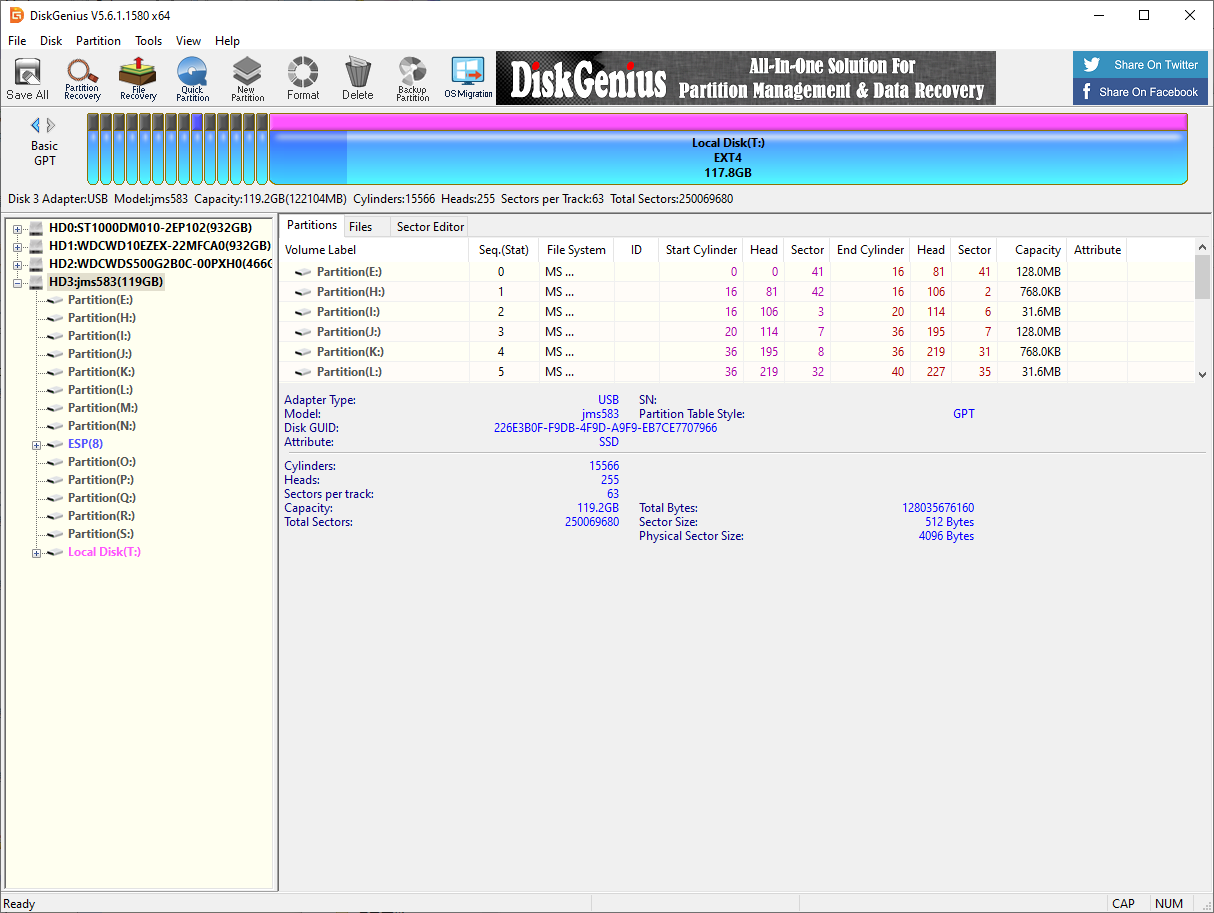
2.1.2. Use DiskGenius
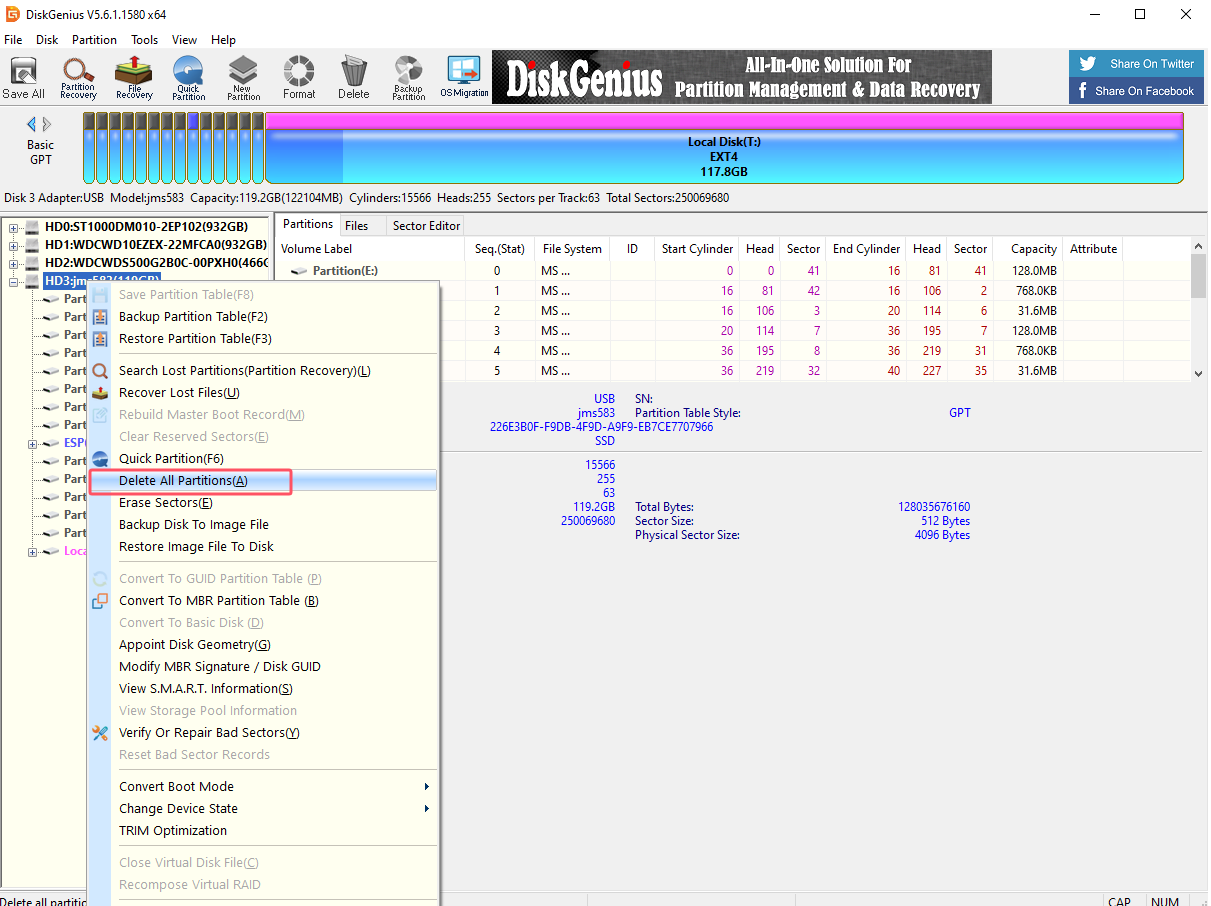
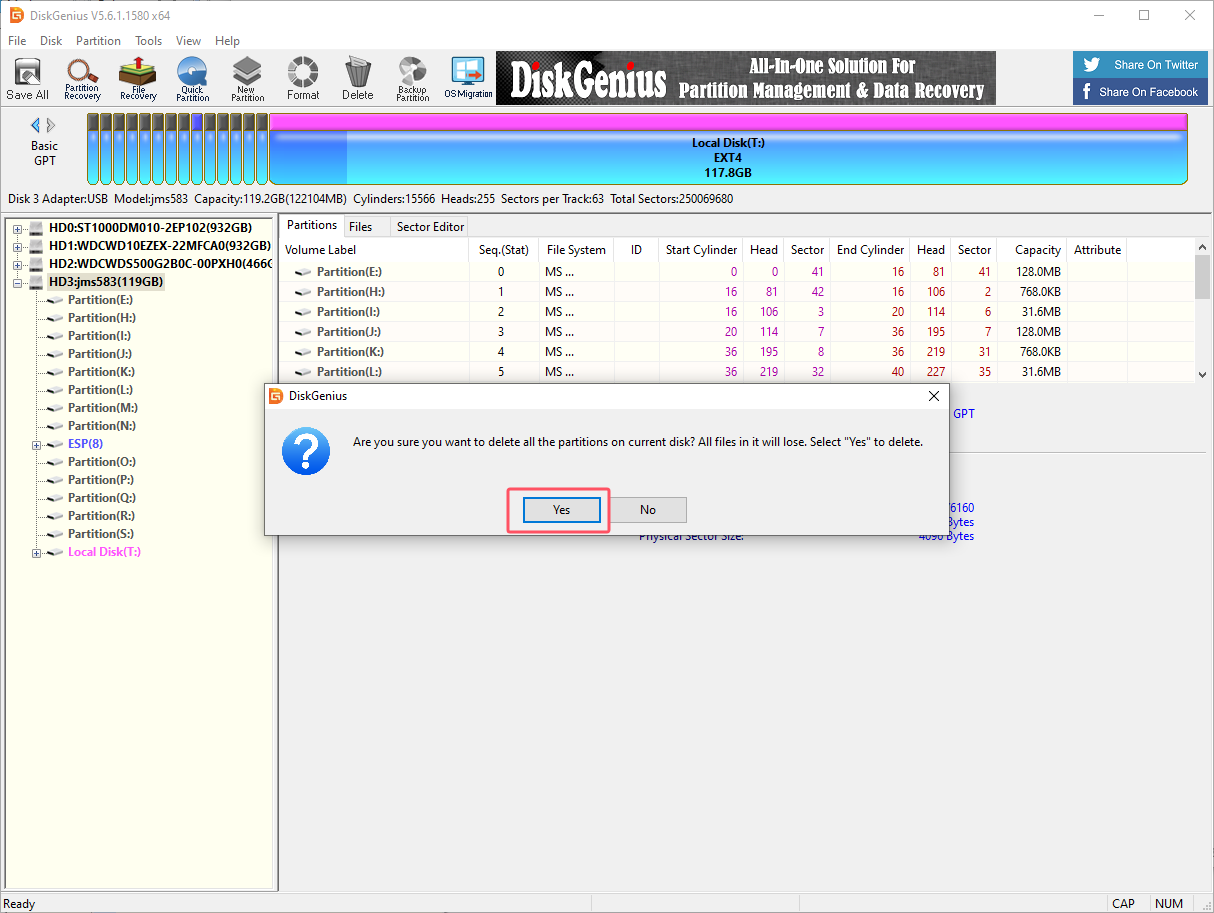
1, Delete partition
Deleting a partition will clear the disk data. Please confirm whether the drive letter is the disk that needs to be formatted before confirming the operation: you can judge based on the disk size and the newly added drive letter of the connected disk
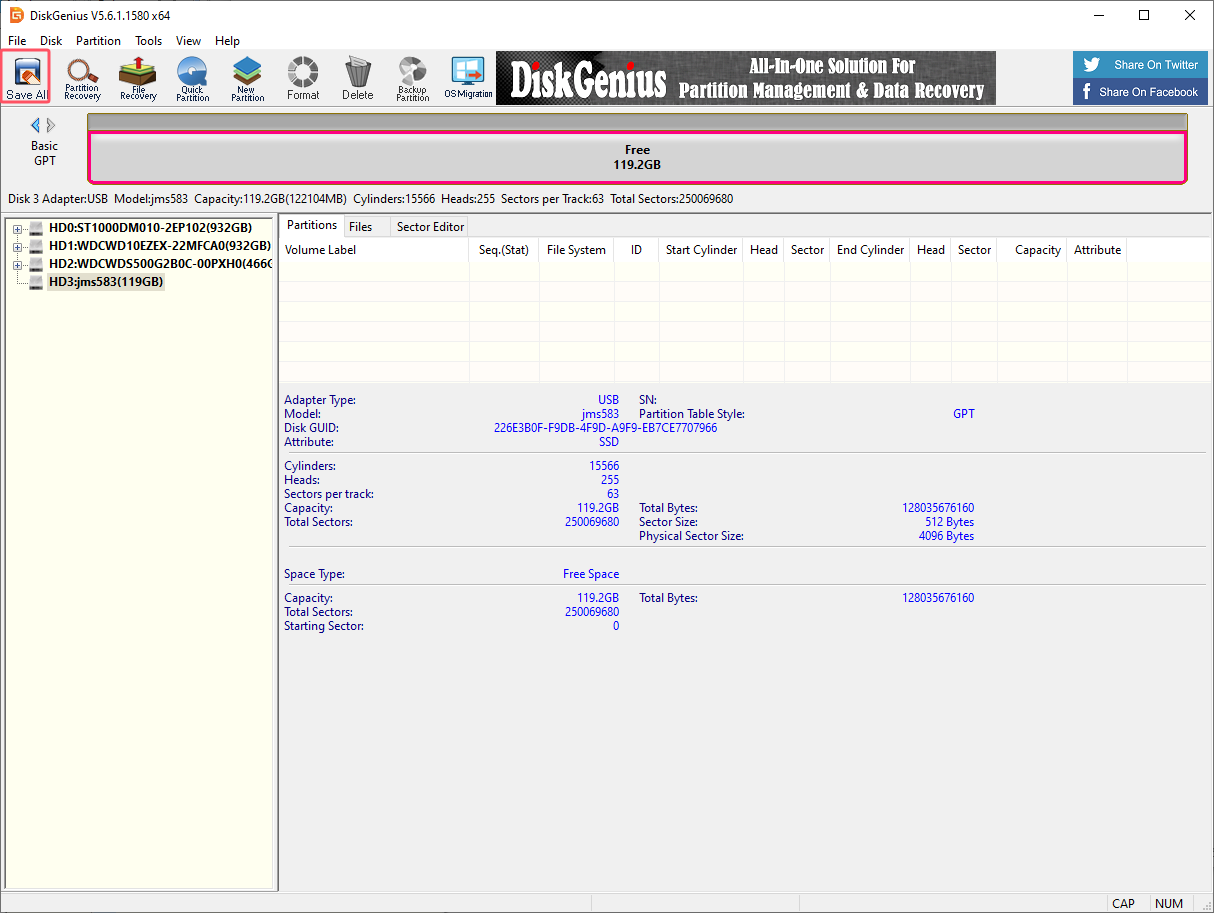

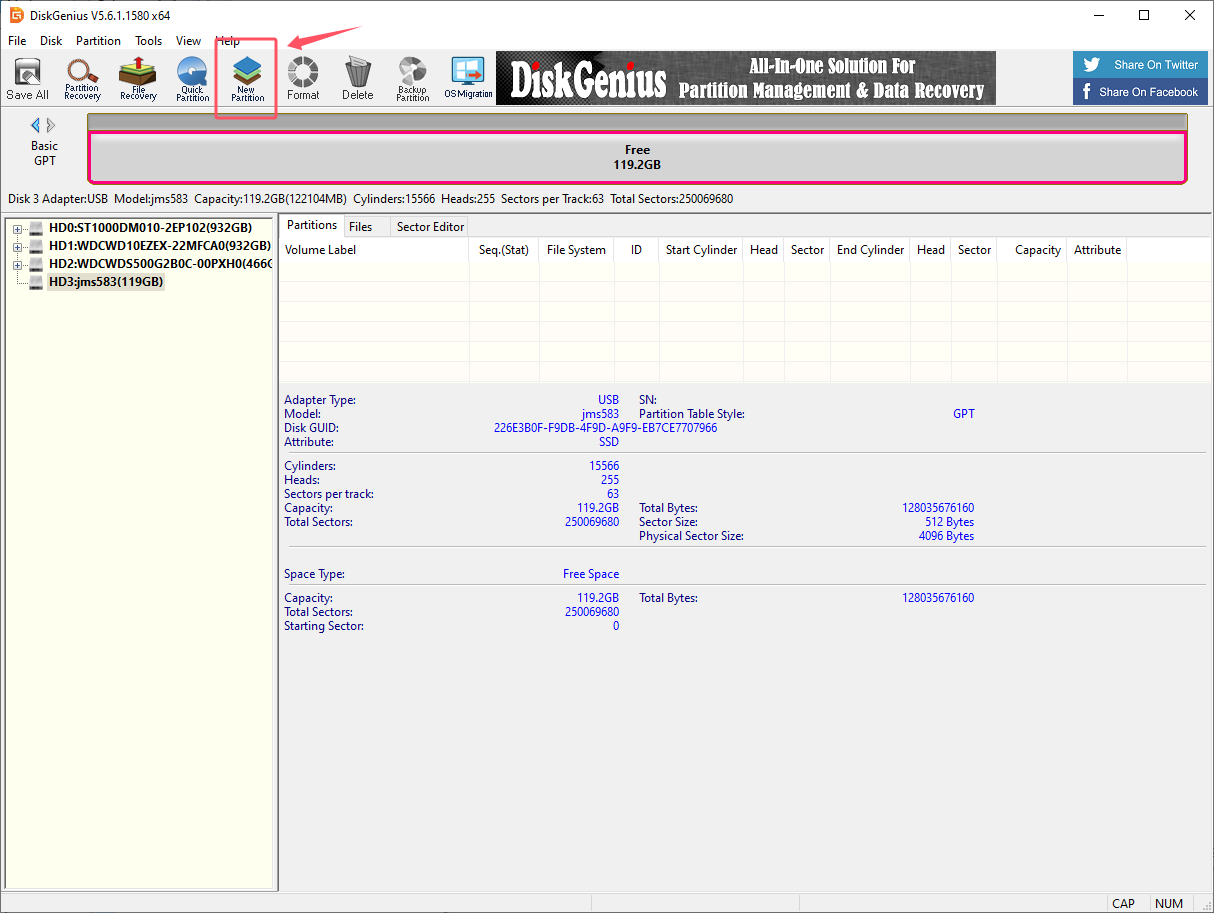
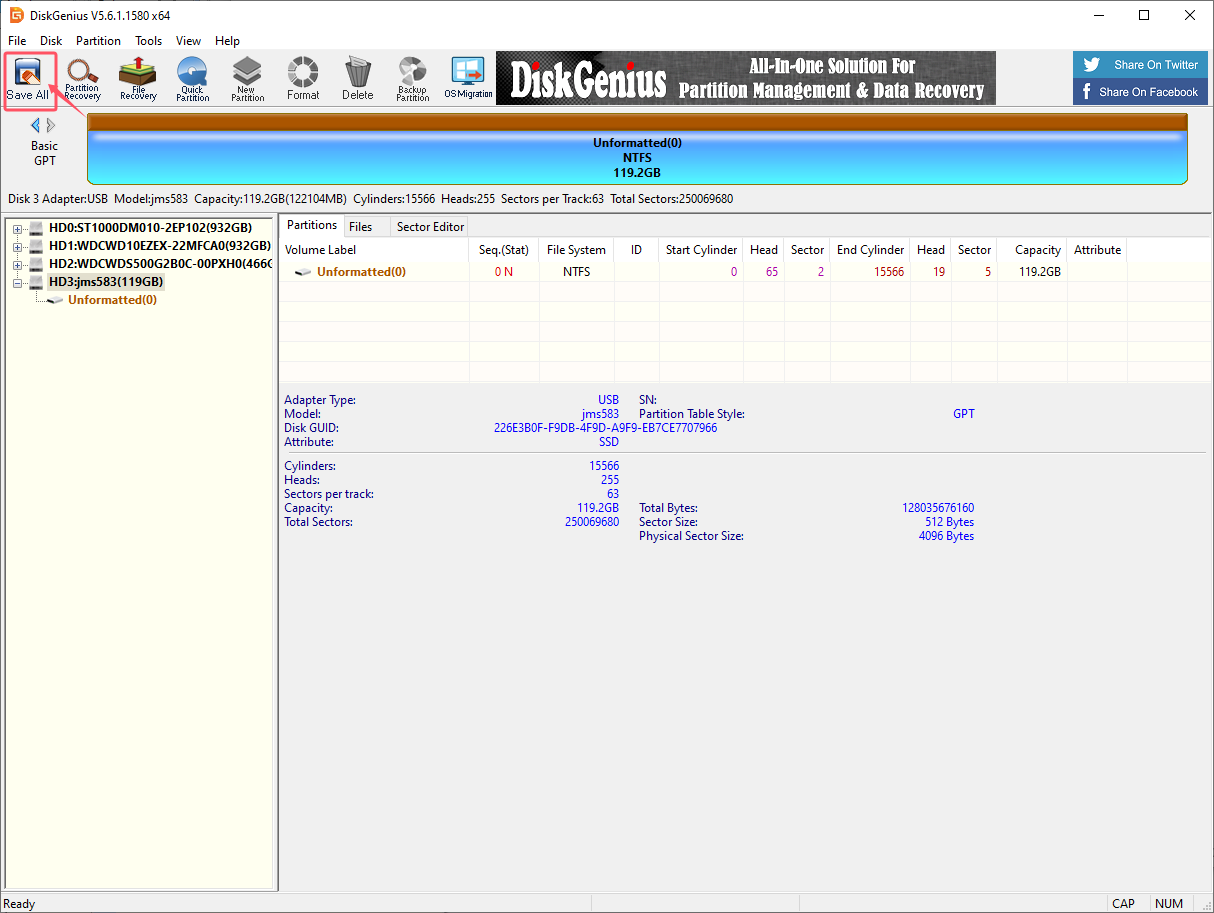
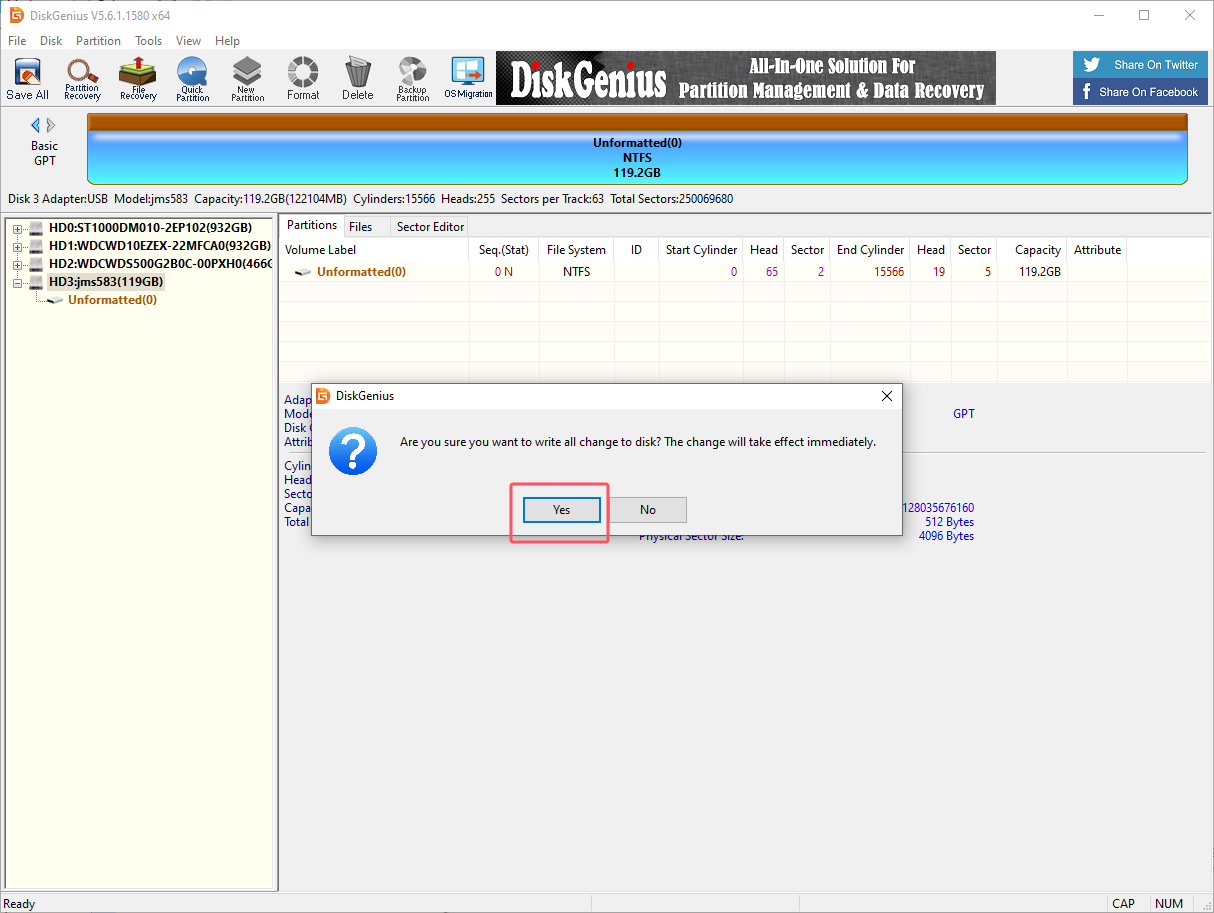
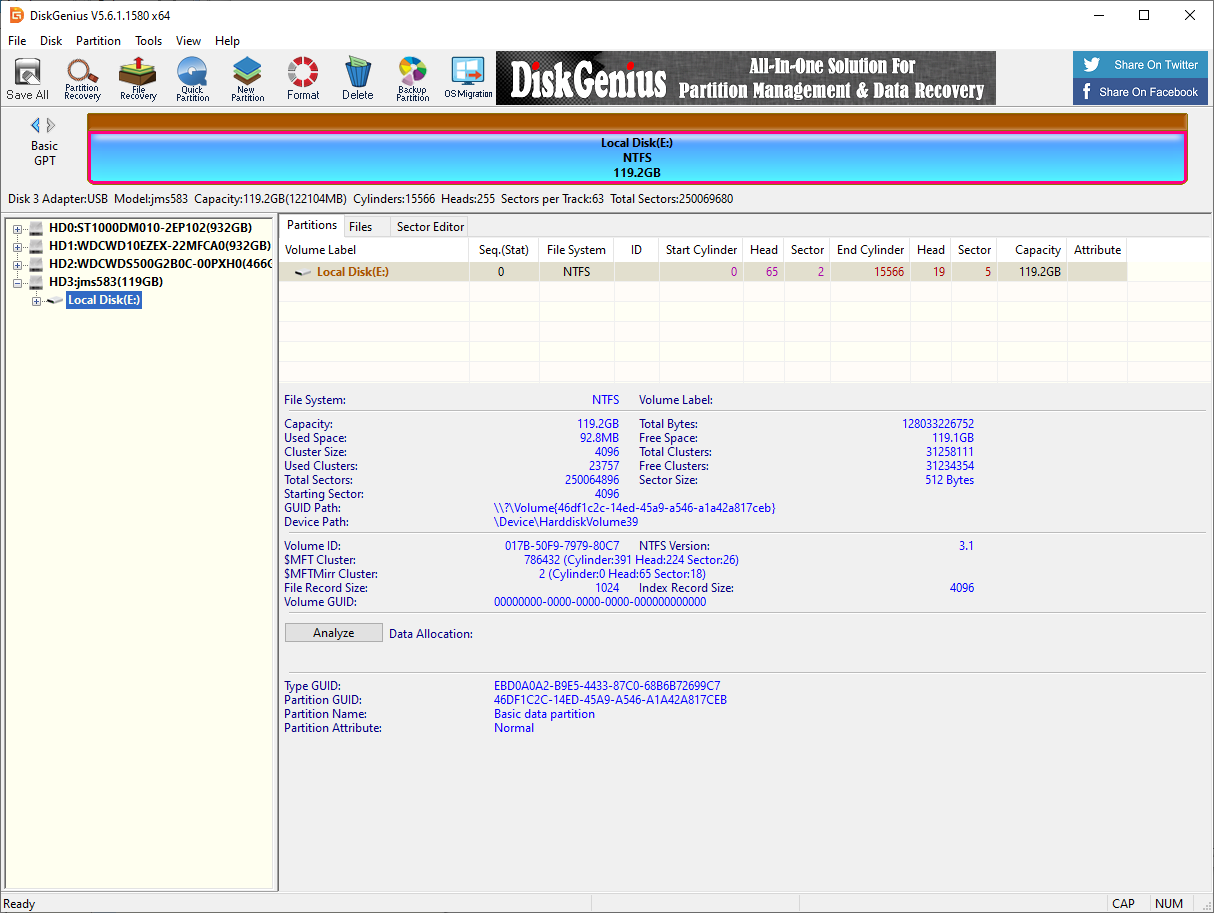
2. Create a new partition
Partition the SSD into NTFS format.
Select the drive letter corresponding to the SSD, and then click New Partition:


2. Restore the factory image
You need to download and decompress the factory image system in the data to the local computer in advance.
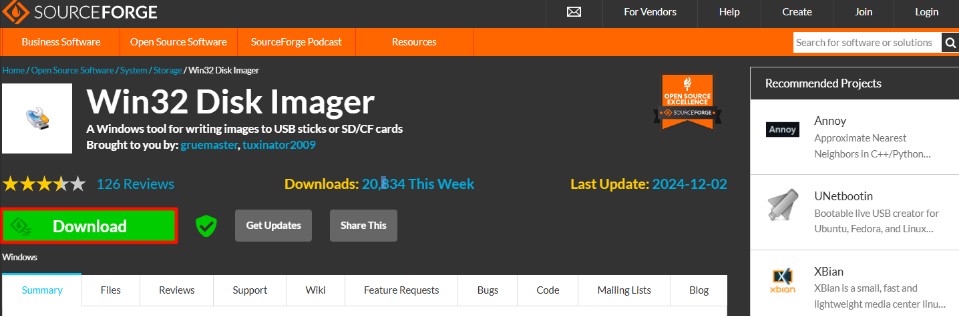
2.1. Install Win32DiskImager
Download URL: https://sourceforge.net/projects/win32diskimager/
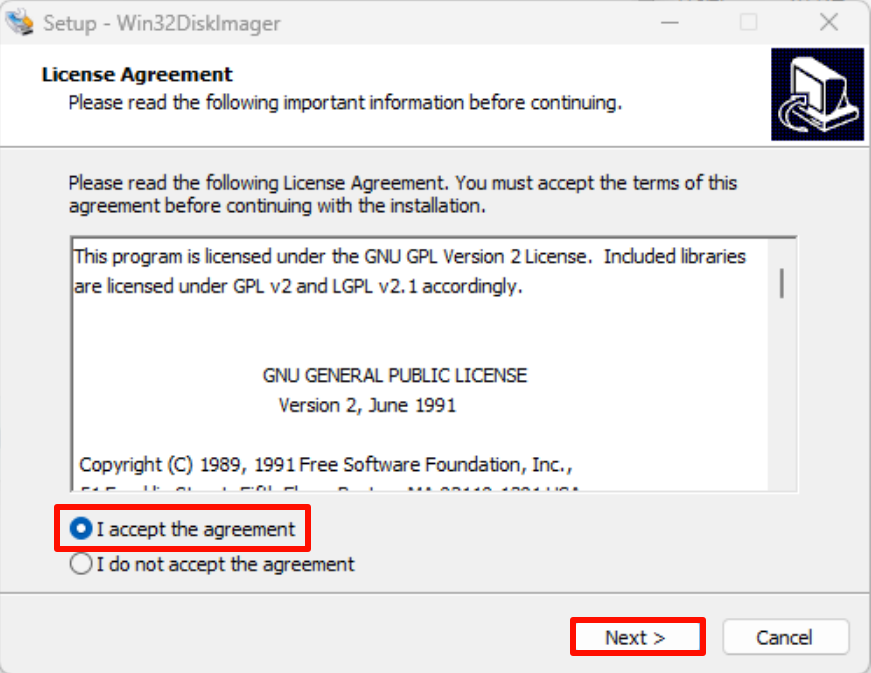
Open the win32diskimager-1.0.0-install.exe installation package as an administrator and accept the agreement:
win32diskimager-1.0.0-install.exe
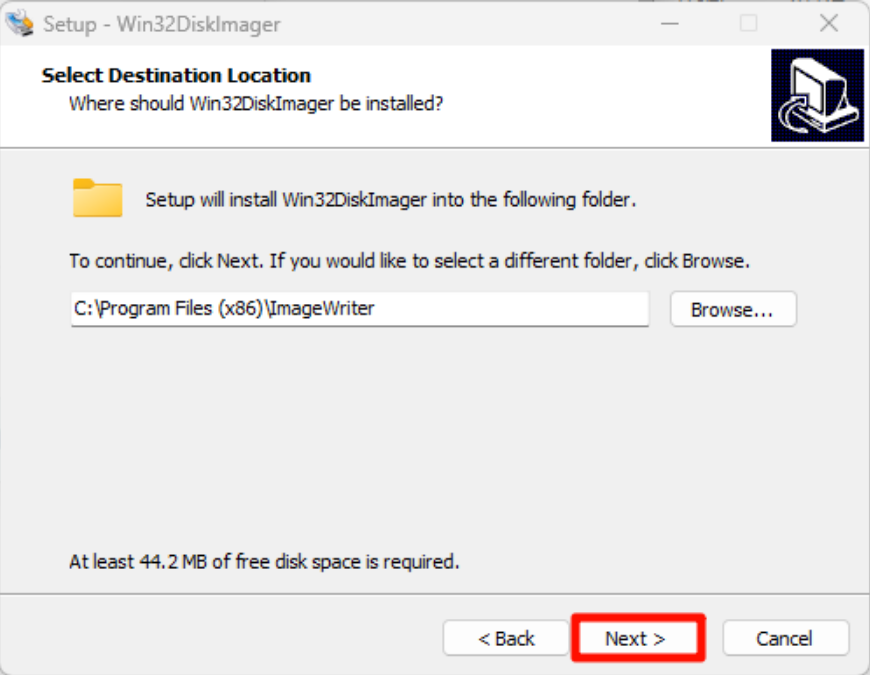
Installation location: The default location is recommended
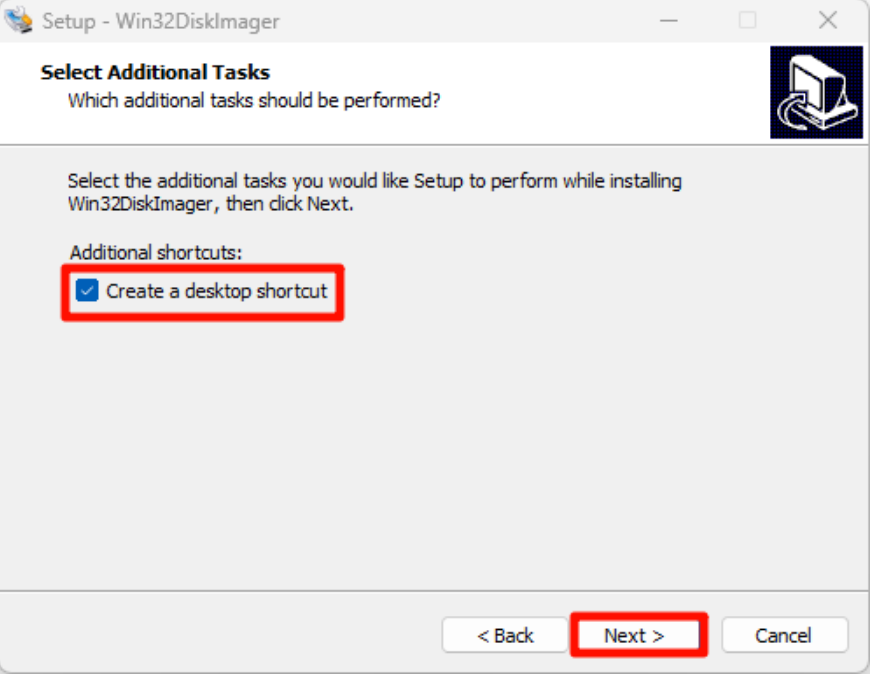
Installation options:
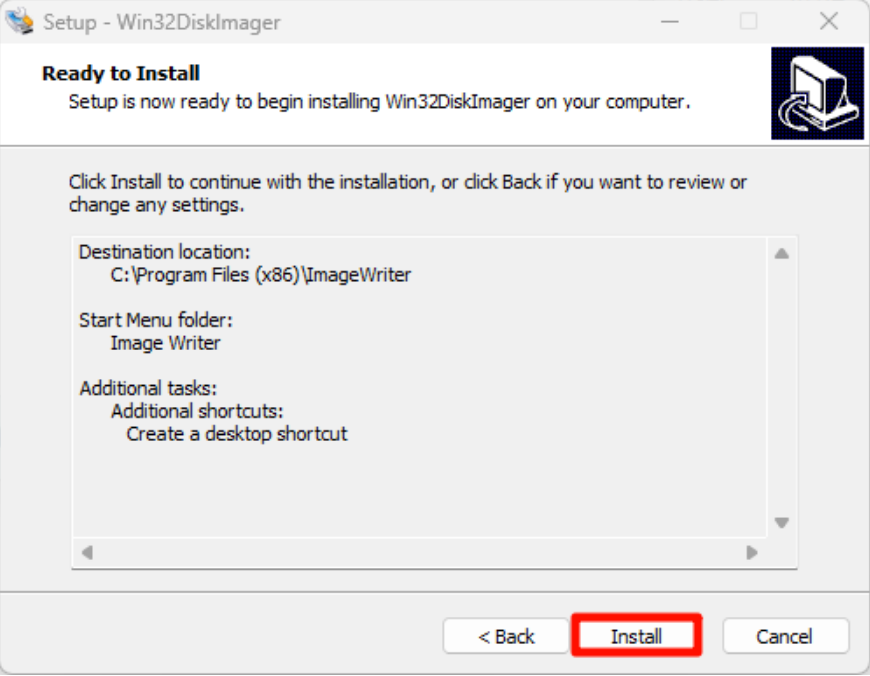
Start installation:

Complete installation:
2.2. Use Win32DiskImager
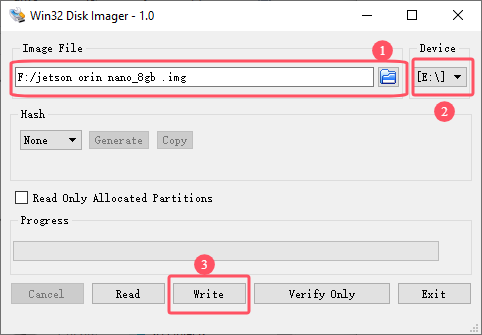
①: Select the factory image file (*.img) in the data
②: Select the drive letter corresponding to the solid-state drive
③: Write the factory image to the solid-state drive
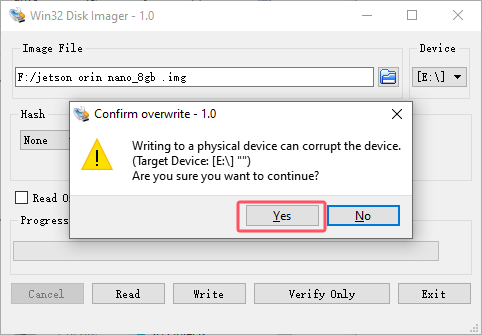
Confirm writing to the system:
Wait for the system to be written successfully:

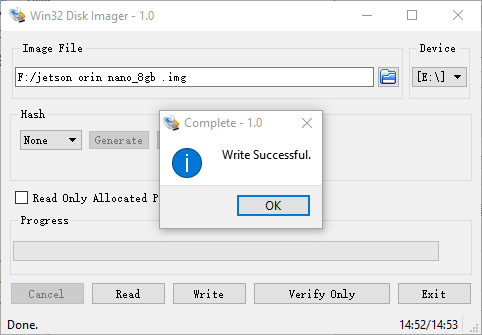
After the system is written, you can close the program and install the SSD to the Jetson Orin motherboard!
3. Description
The Jetson motherboard can start the system normally and it depends on the system Jetpack version. Generally, only the same version can start the system!