Backup NVME System
1. Backup Preparation
Open the Ubuntu (or Ubuntu VM) terminal and install gparted:
sudo apt install gparted

Remove the NVMe SSD from the board, insert it into an NVMe enclosure, and connect it to the computer/VM.
The system will automatically recognize the drive.
Open the system application menu, search for gparted, and launch it:
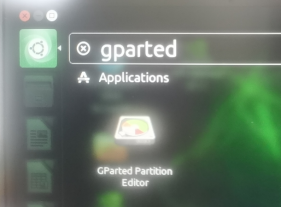
⚠️ Be careful to select the correct disk device number. Incorrect operations may cause data loss.
2. Record Partition Information
Record the detected disk device number, for example:
/dev/sdb
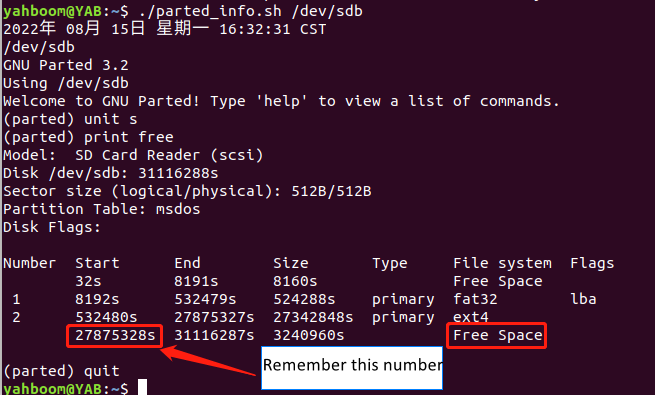
Run the script below to view free space and partition start positions:
./parted_info.sh /dev/sdb
If the script lacks execute permissions:
chmod +x parted_info.sh
parted_info.sh content:
#!/bin/bash
date
echo $1
sudo parted $1  <<EOF
unit s
print free
quit
EOF
3. Backup Image (.img) File
Ensure your computer/VM has enough free space to store the backup image.
Run the backup command:
sudo dd if=/dev/sdb of=backup.img bs=512 count=27875328
Where:
- if=/dev/sdb → disk device number
- of=backup.img → output image filename
- bs=512 → block size
- count=27875328 → number of blocks (from partition info)
![]()
To monitor backup progress in another terminal:
sudo watch -n 3 pkill -USR1 ^dd$
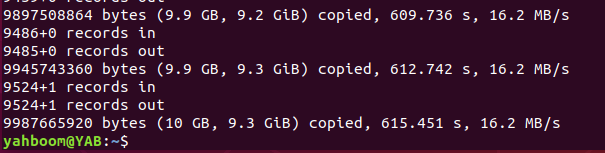
Wait until the backup completes.
4. Copy Image to Windows
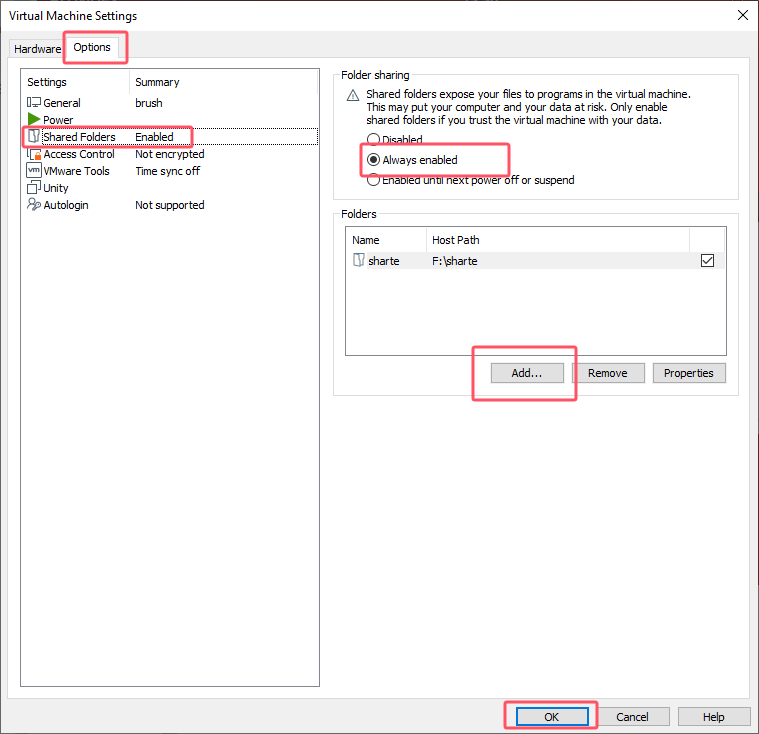
Since the backup image is created inside a Linux VM, enable Shared Folders to transfer it to Windows.
Open the VM settings:
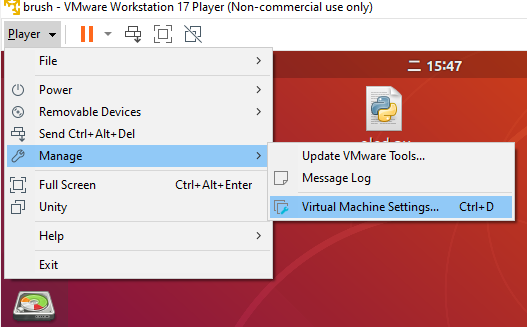
Enable Shared Folders, then add a Windows path (example: D:\Virtual Machines\share):
Copy the backup image to the shared folder:
sudo cp backup.img /mnt/hgfs/share/
Backup Complete.