15-Model Training and Conversion
After completing dataset annotation, you can train a custom model directly on the Jetson and convert it for optimized deployment.
This tutorial focuses on CLI-based training and conversion. For Python-based workflows, refer to the official Ultralytics documentation.
1. Model Training
Use the Ultralytics CLI to train a model.
1.1 Prepare Training Directory
Copy the pretrained model (yolo11n.pt) into the directory containing
your dataset configuration file, then open a terminal in that directory:
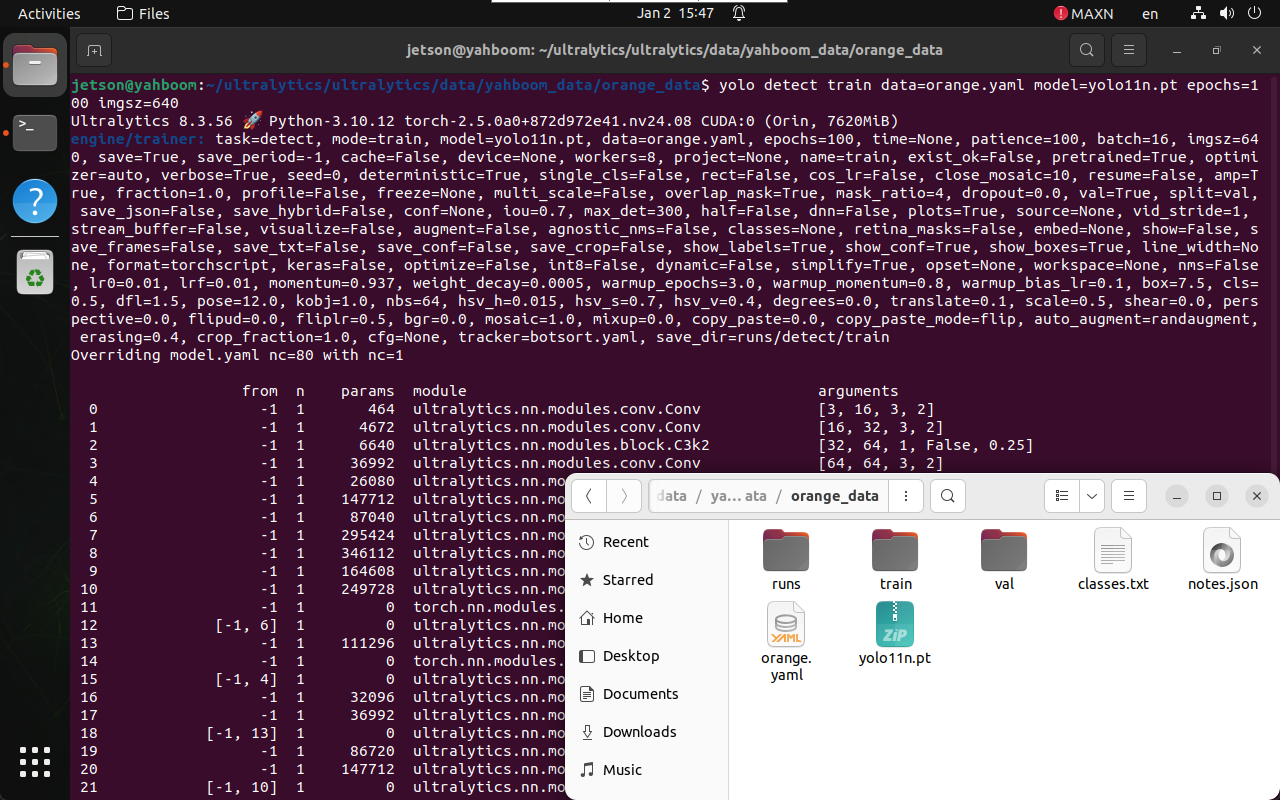
cd /home/jetson/ultralytics/ultralytics/data/yahboom_data/orange_data
1.2 Start Training
yolo detect train data=orange.yaml model=yolo11n.pt epochs=100 imgsz=640
Parameter explanation:
data: Dataset configuration file\model: Pretrained YOLO model\epochs: Number of training epochs\imgsz: Input image size
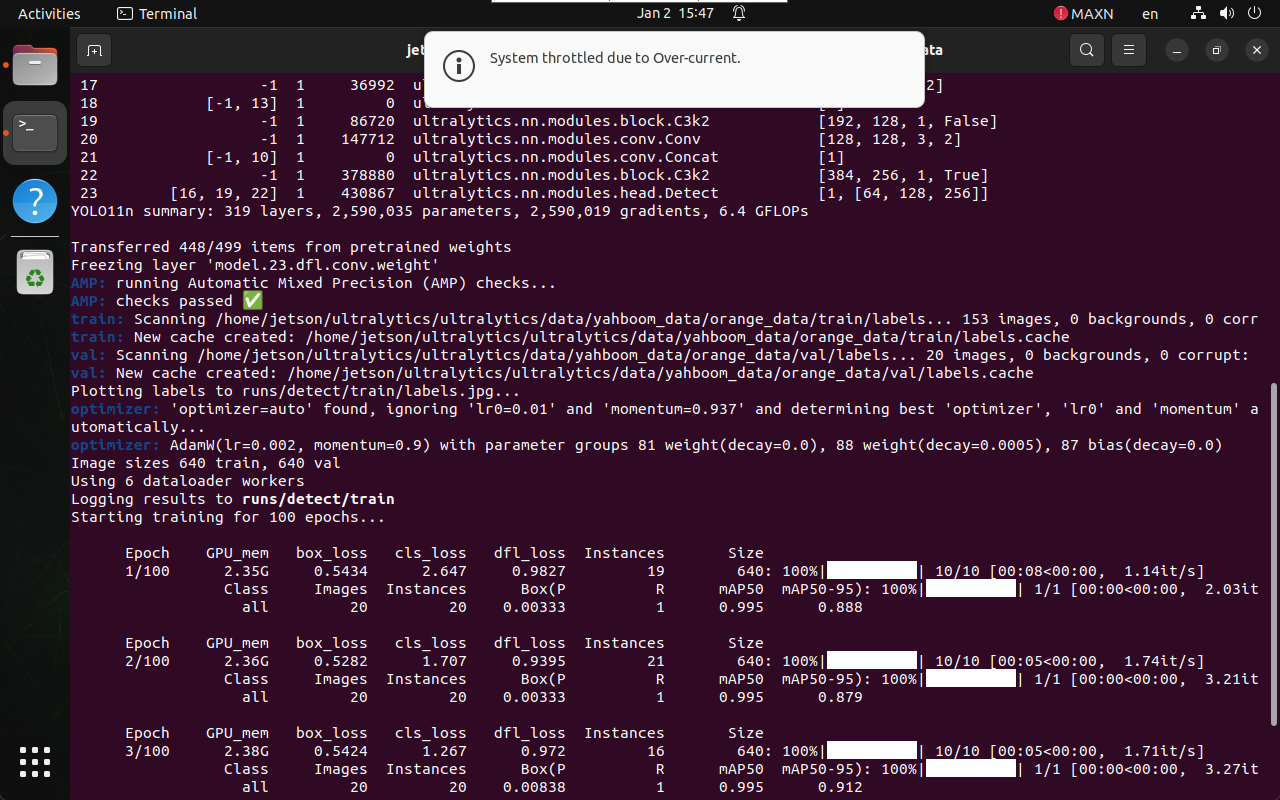
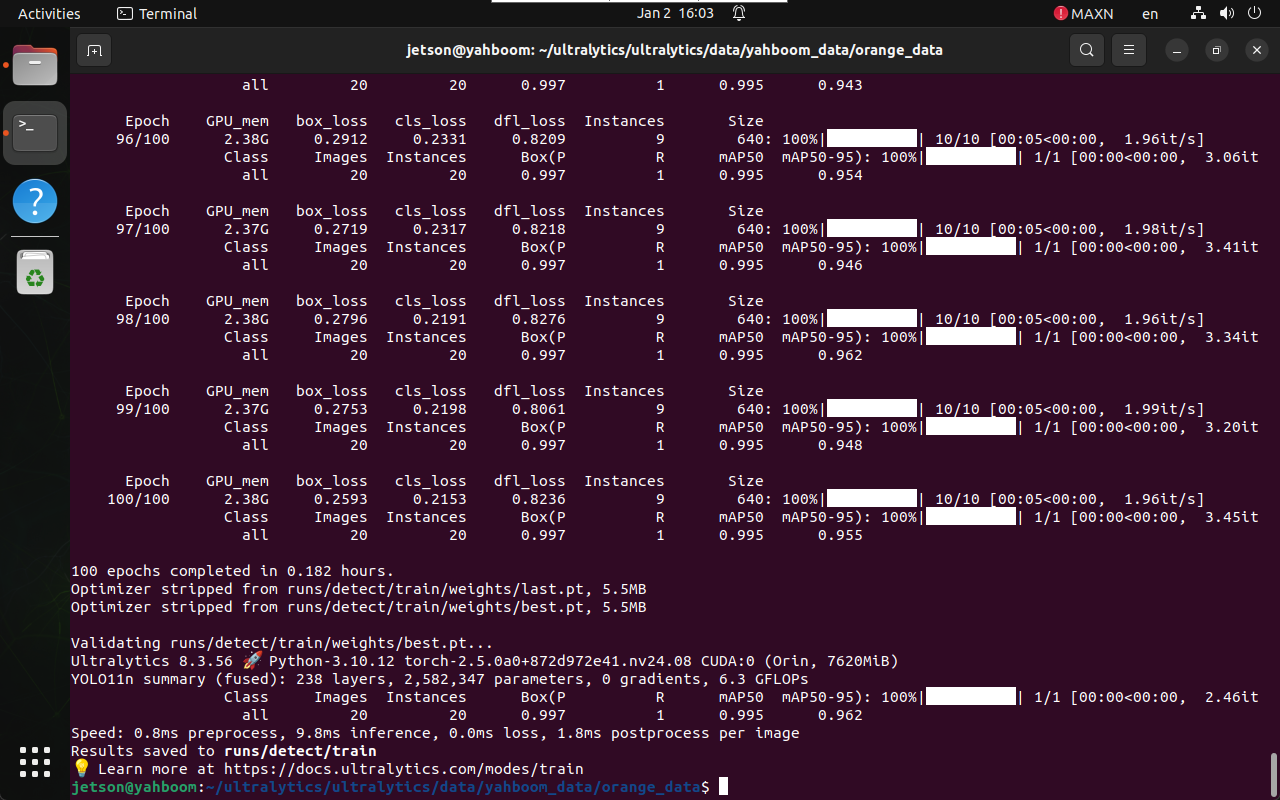
1.3 Training Output
During training, logs and checkpoints are saved automatically.
2. Model Conversion
After training, the best-performing model is saved in the runs
directory.
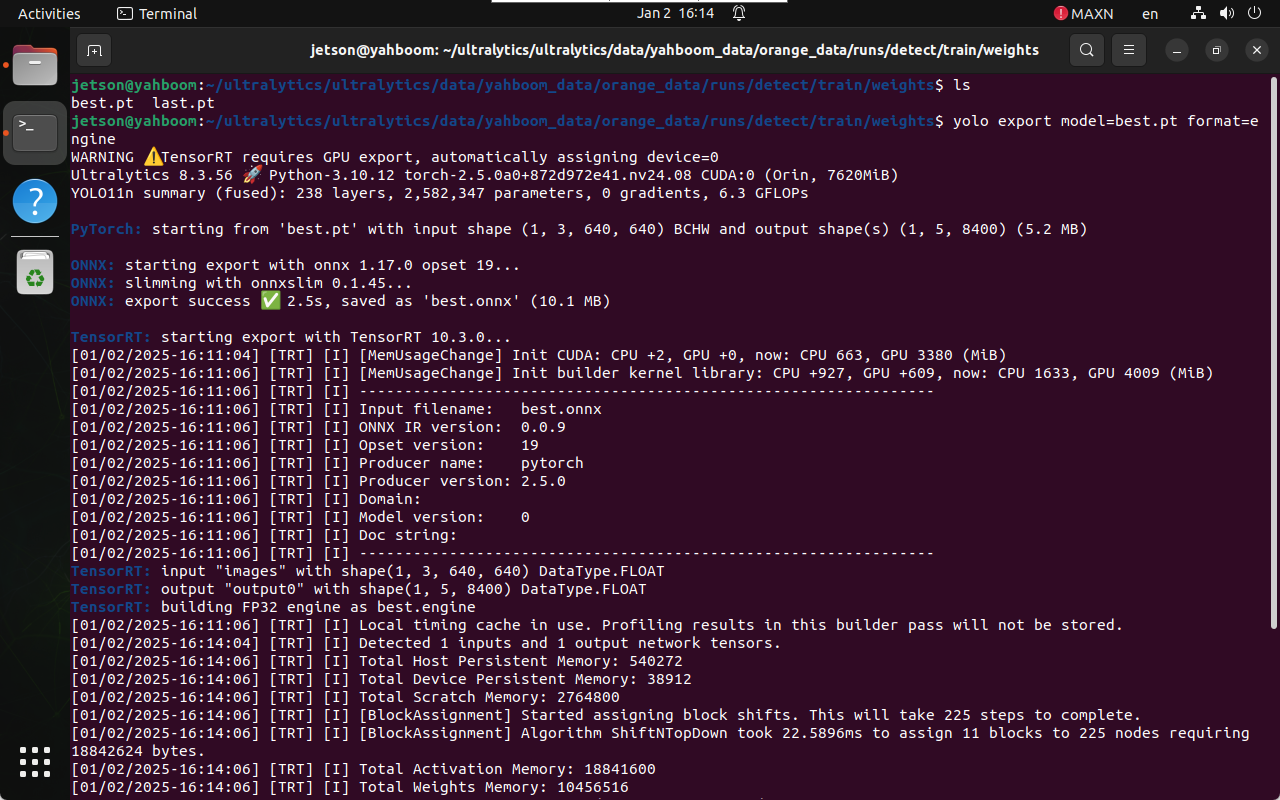
2.1 Locate Trained Model
/home/jetson/ultralytics/ultralytics/data/yahboom_data/orange_data/
└── runs/detect/train/weights/
    ├── best.pt
    └── last.pt
Use best.pt for deployment.
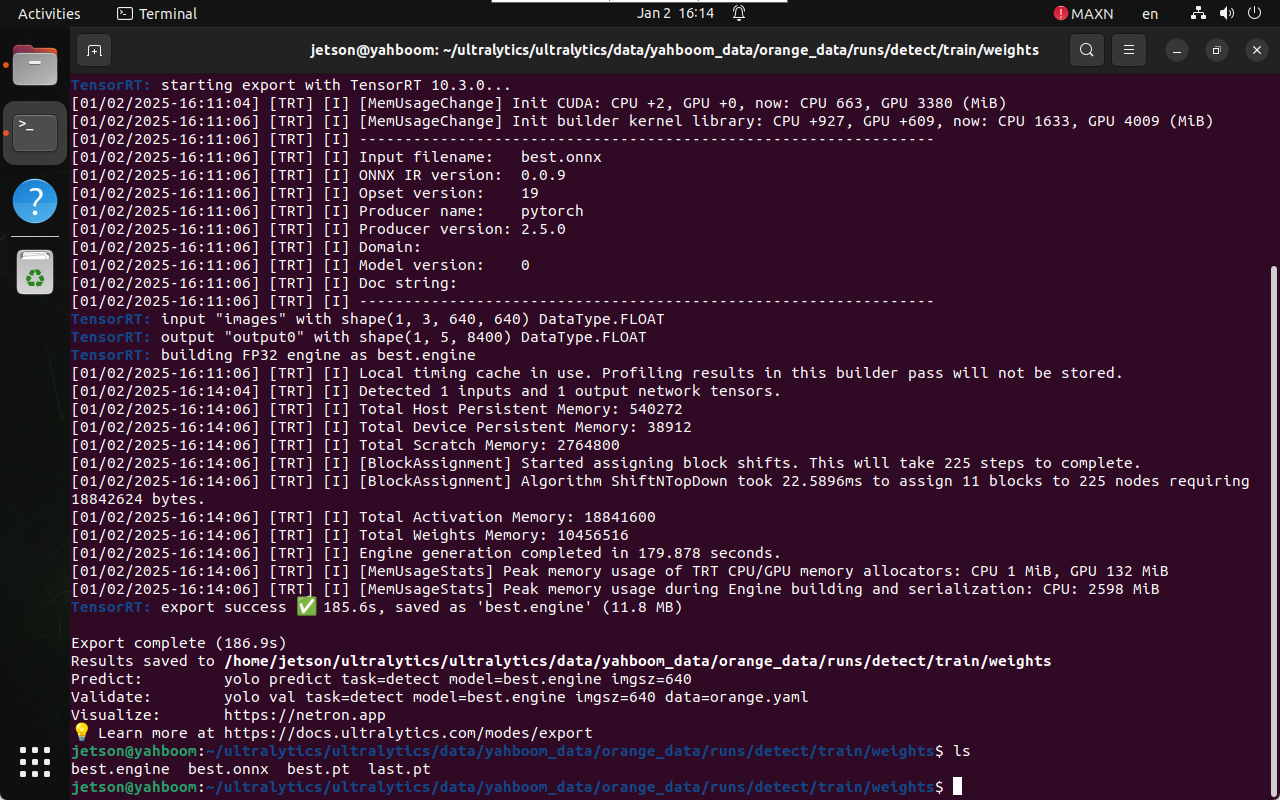
2.2 Convert PyTorch Model to TensorRT
Navigate to the weights directory:
cd /home/jetson/ultralytics/ultralytics/data/yahboom_data/orange_data/runs/detect/train/weights
Run model export:
yolo export model=best.pt format=engine
The TensorRT engine file (.engine) will be generated in the same
directory.
References
- Ultralytics Training Guide:
https://docs.ultralytics.com/modes/train/
Maintained by HemiHex for Jetson-based advanced vision workflows.