03-Installing Jetson Environment
This tutorial installs NVIDIA component packages on a board that already boots normally.
If your shipped SSD already includes the factory image and you do not need a clean reflash, use this tutorial.
1. Prerequisites
Prepare:
- Stable internet connection (host and target)
- Jetson board booting to desktop
- DC power adapter
- DisplayPort cable + monitor
- USB Type-C cable to host machine/VM
- Ethernet cable
If you use the provided VM image, use its default credentials as documented by your kit provider.
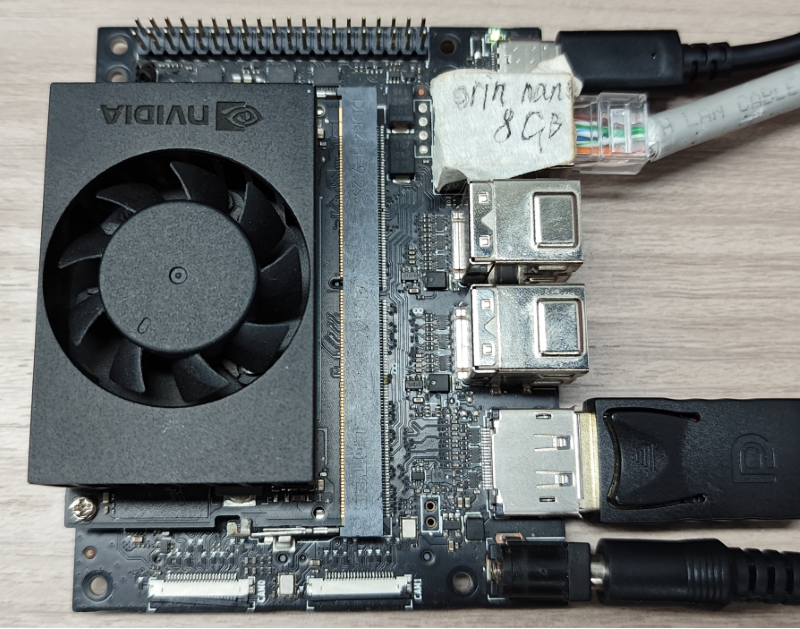
2. Hardware and Connection Mode
Connect the board with DC power, DP, Ethernet, and Type-C.
Do not enter recovery (flashing) mode for this tutorial.
3. VM/Host USB Pass-Through
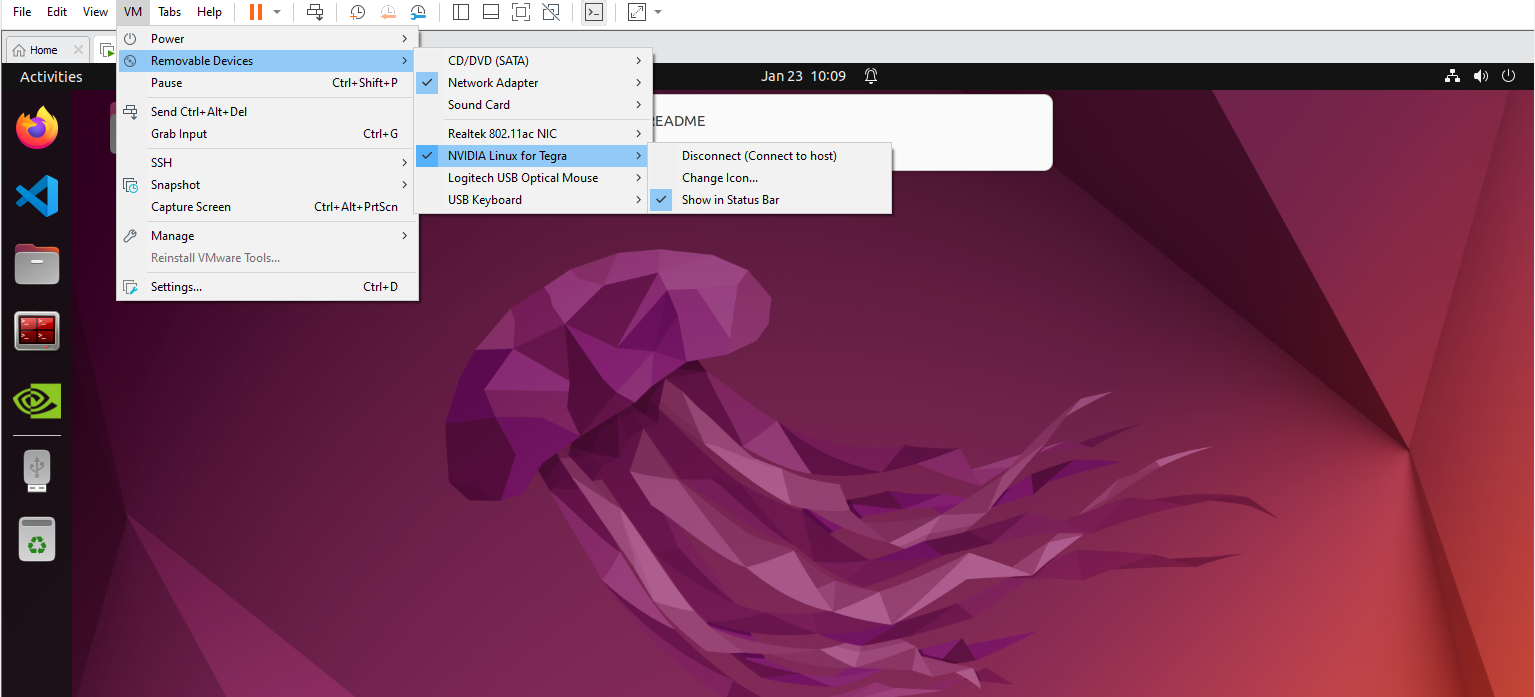
If using VMware Workstation 17 Pro, attach the Jetson USB device to the VM from the VMware menu.
Example menu path:
Virtual Machine -> Removable Devices -> NVIDIA Linux for Tegra
4. SDK Manager Workflow
4.1 Select Target
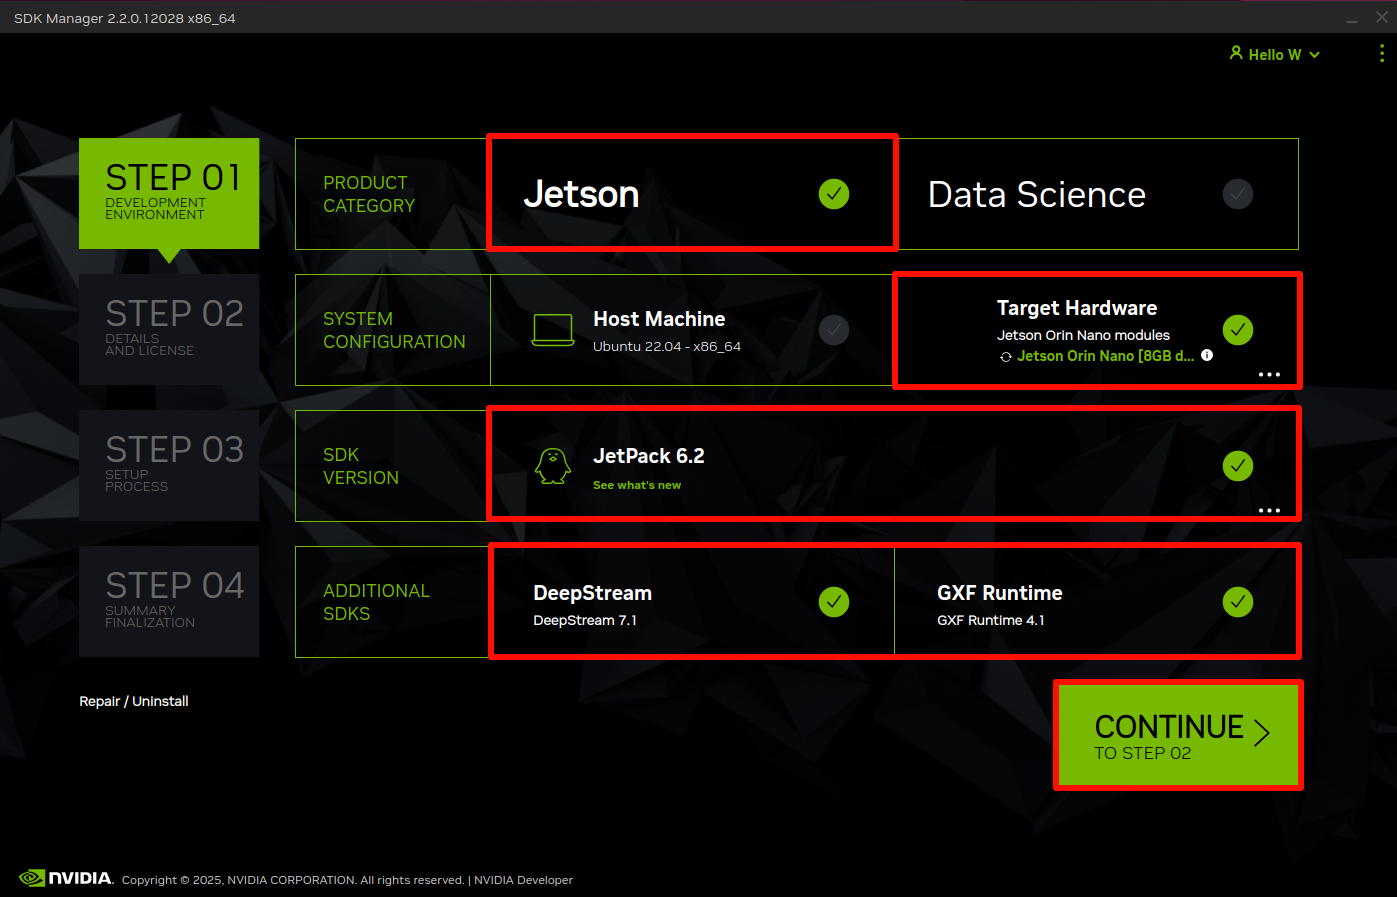
Open SDK Manager and select your target board model.
For official kit users, choose Jetson Orin Nano [*GB developer kit version].
4.2 Step 1
Confirm the target and host options, then click CONTINUE.
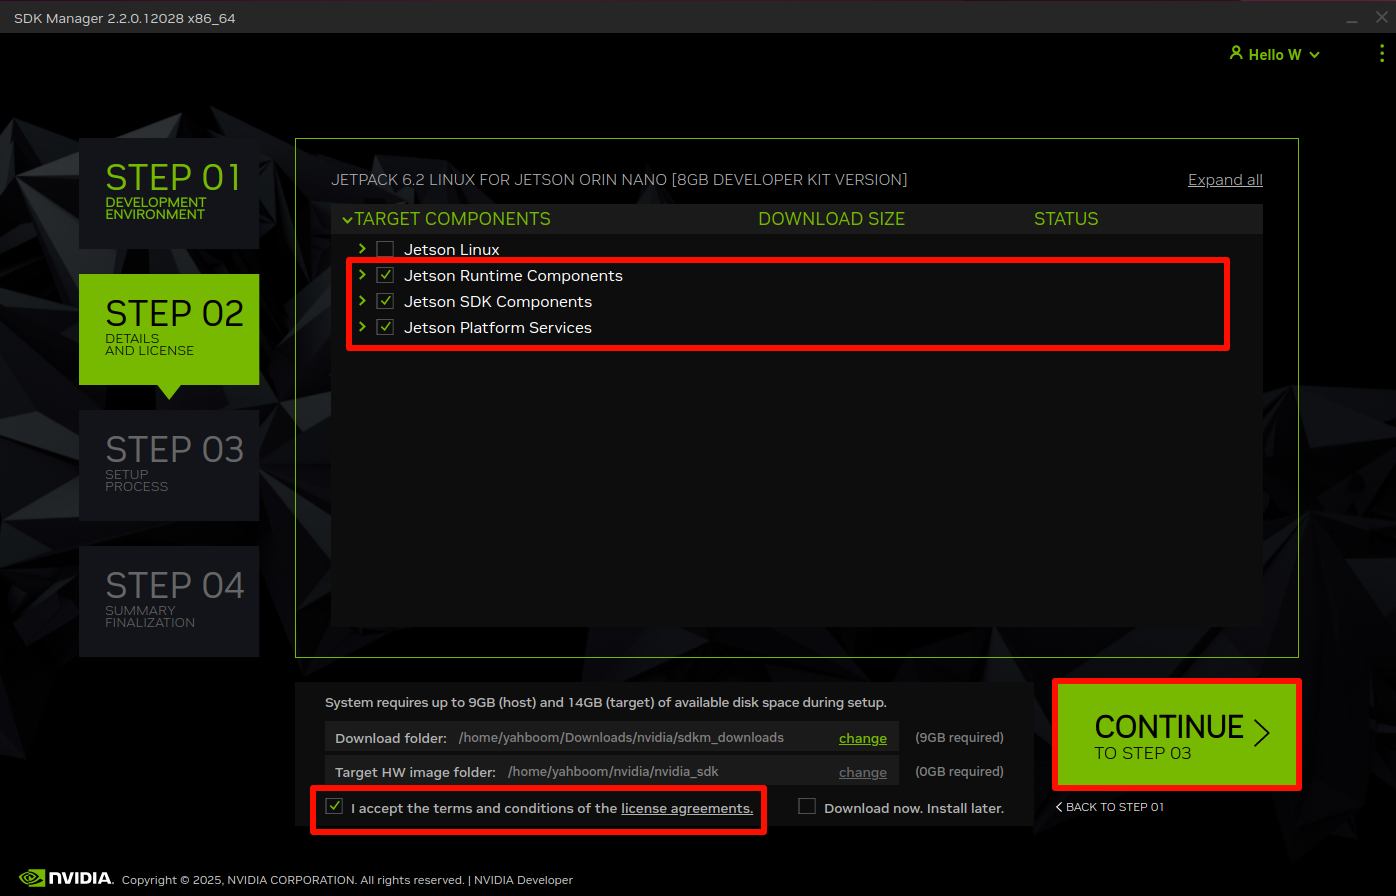
4.3 Step 2
Select the component packages you need. SDK Manager downloads them automatically.
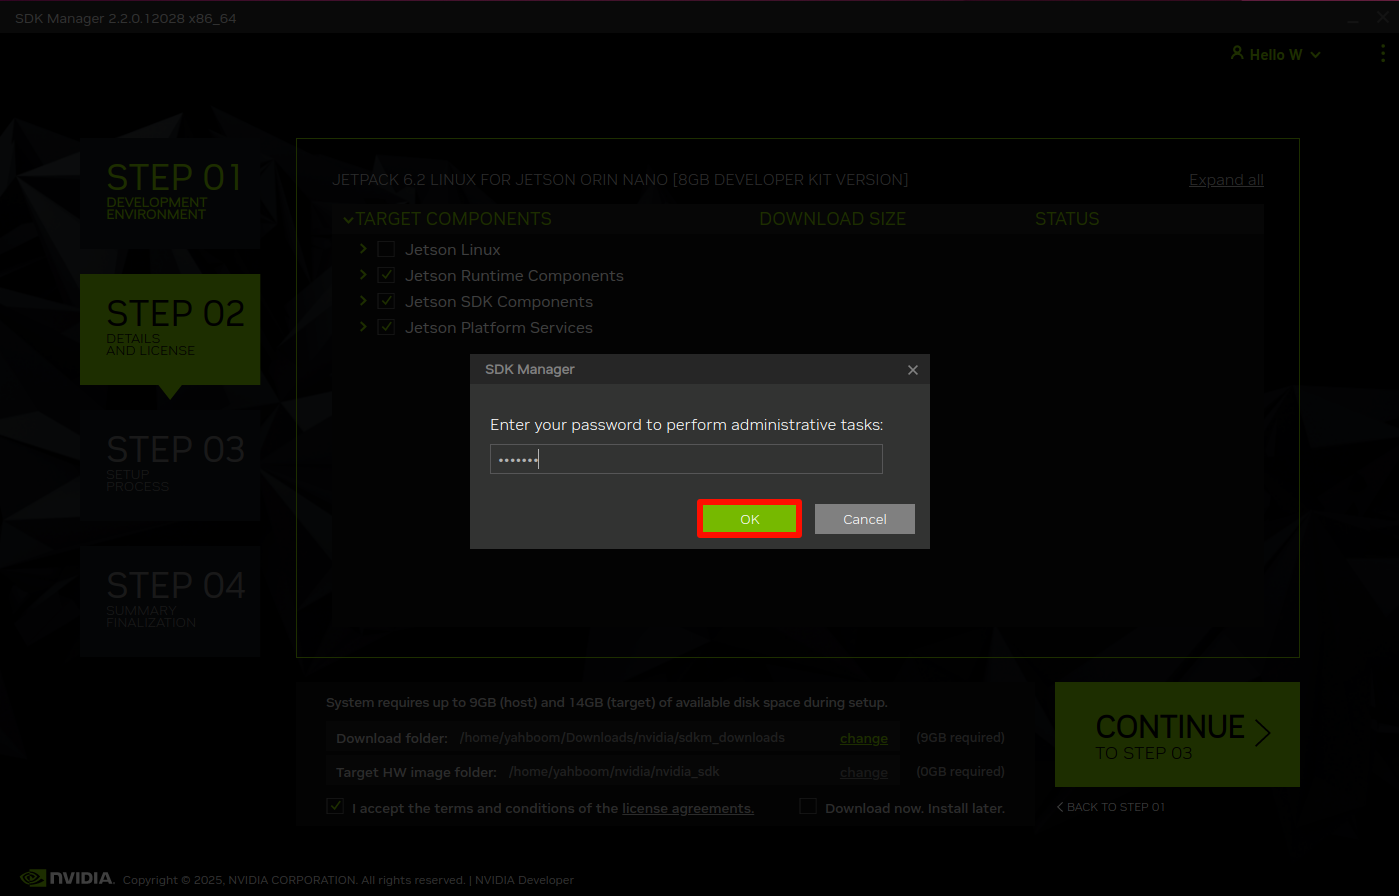
If prompted, enter the VM password.
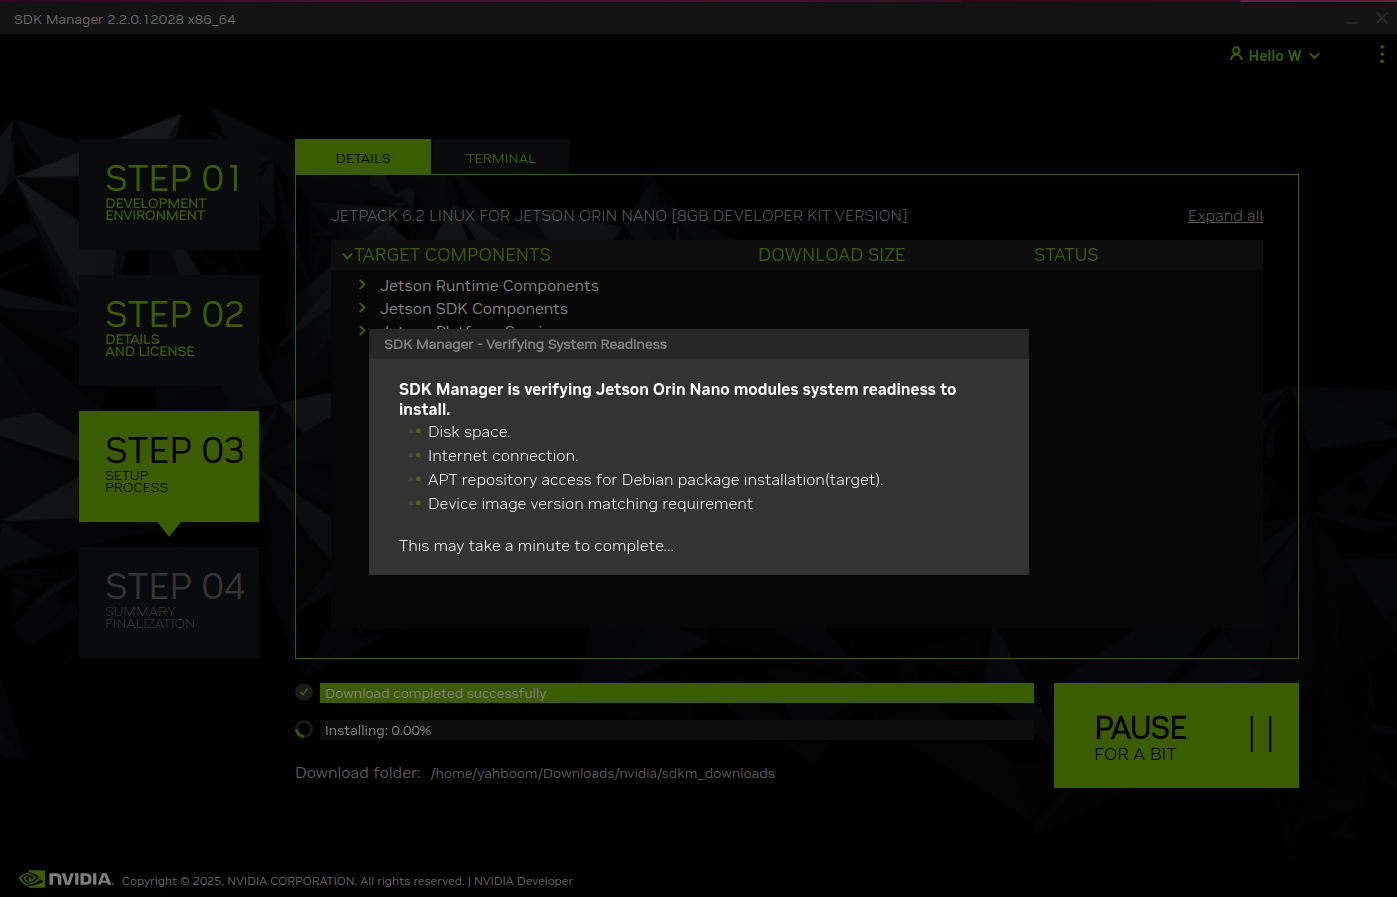
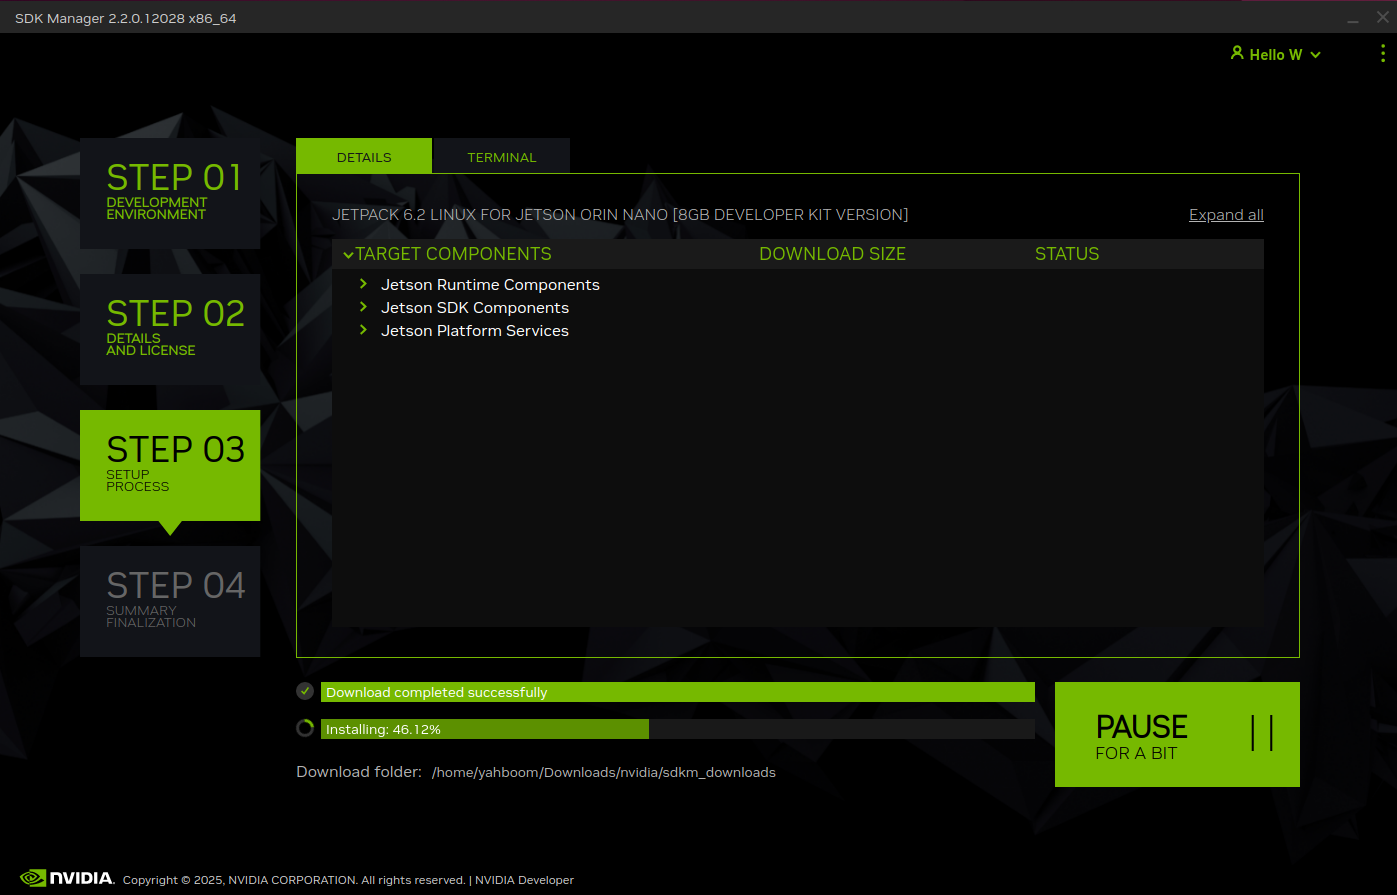
4.4 Step 3
Enter the username and password configured on the Jetson device.
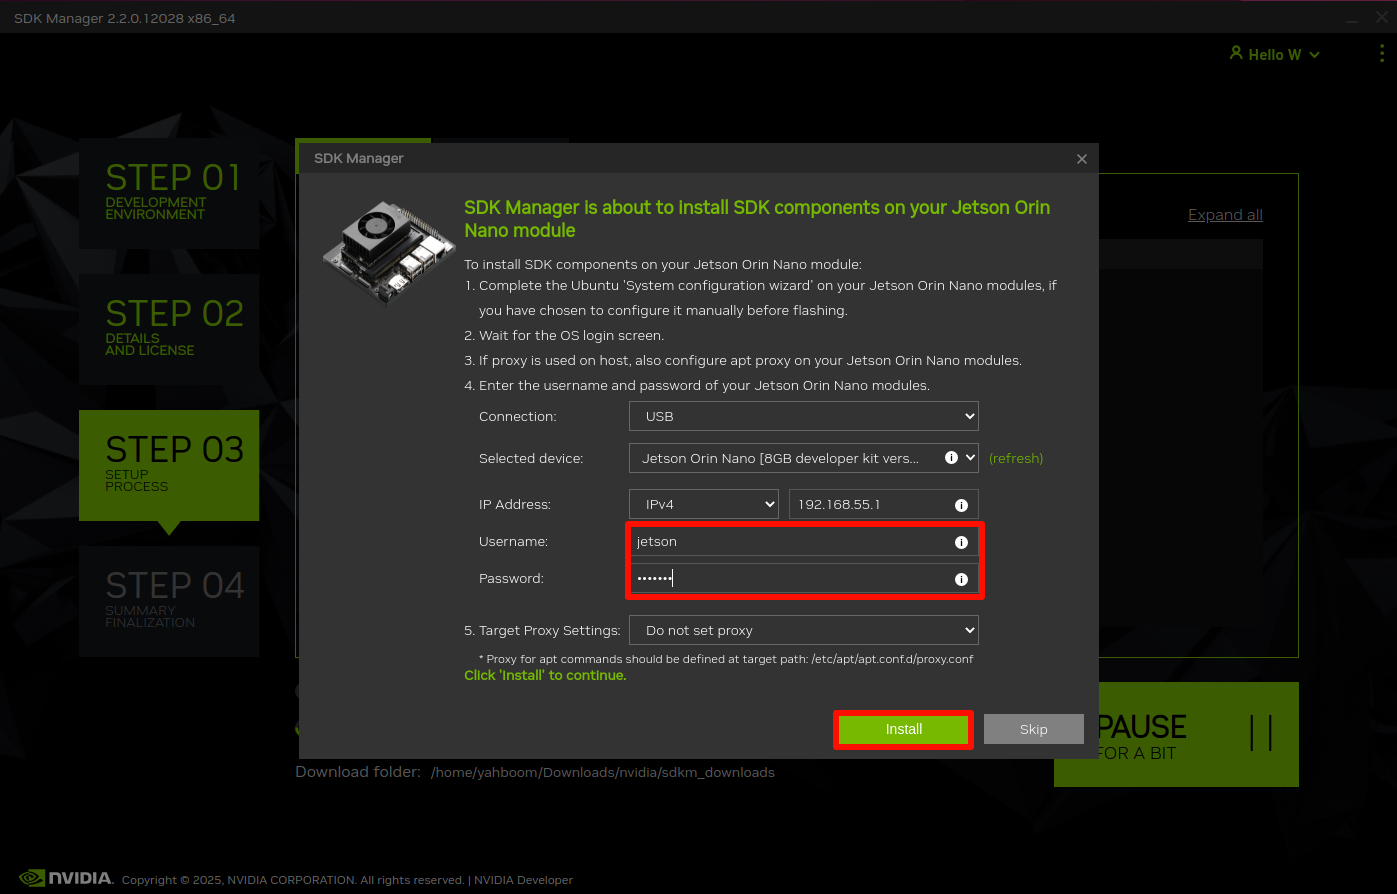
Wait for package installation to complete.
If installation fails, reboot the board and retry SDK Manager.

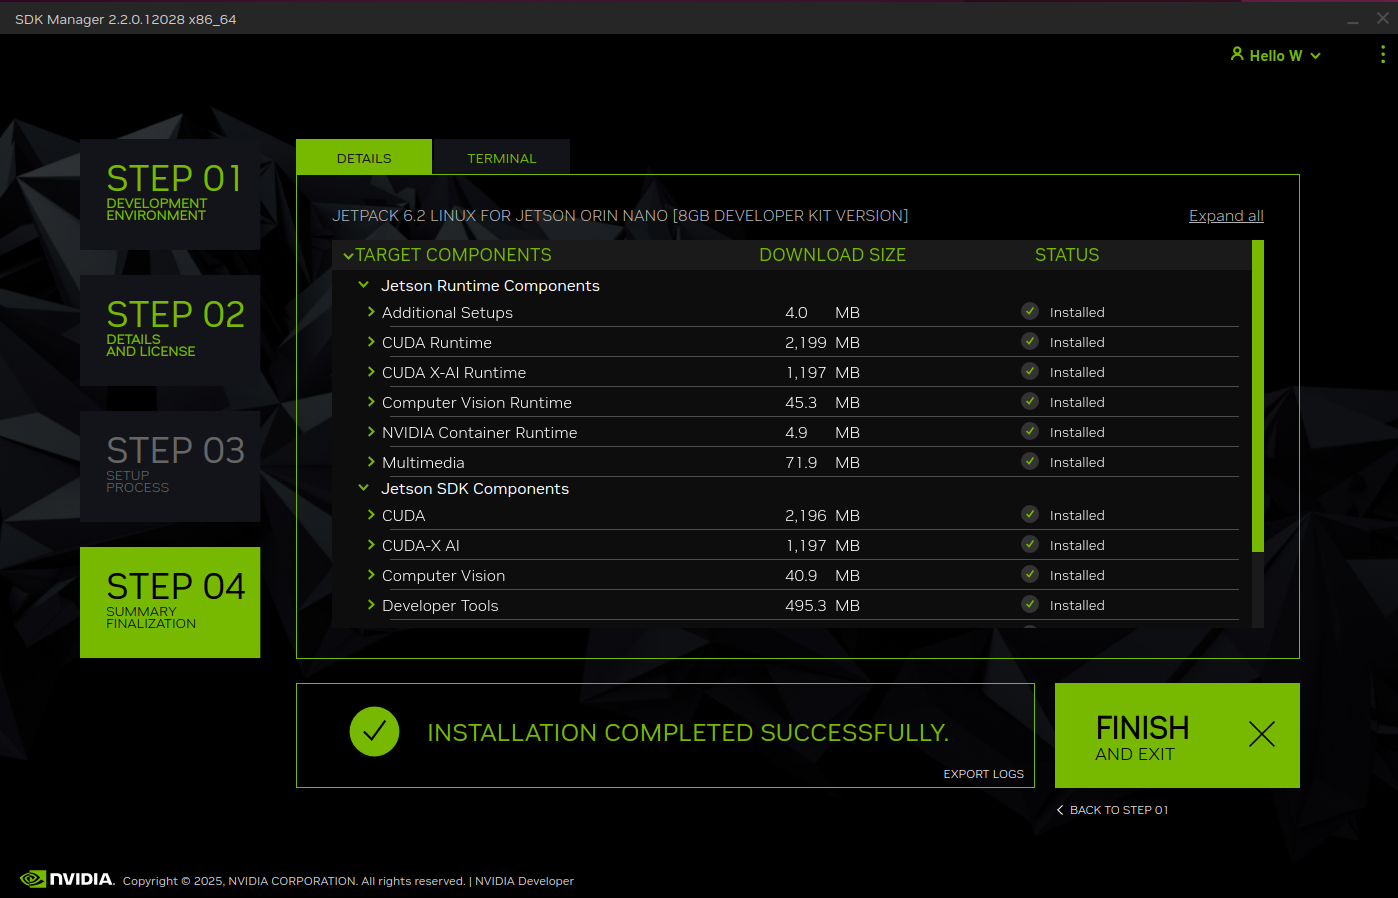
4.5 Step 4
Verify completion in SDK Manager.
5. Environment Verification
Install jtop:
sudo apt update && sudo apt upgrade -y
sudo apt install python3-pip -y
sudo pip3 install -U jetson-stats
Reboot after installation.
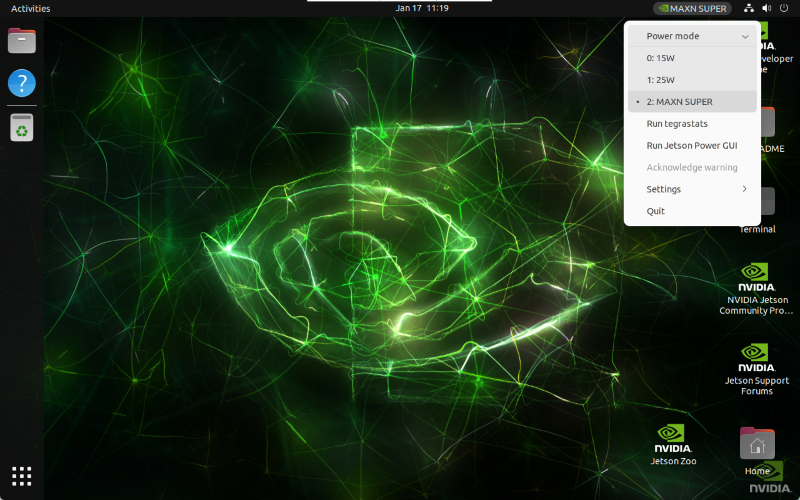
Set max power mode:
sudo nvpmodel -m 2 # Jetson Orin Nano
sudo nvpmodel -m 0 # Jetson Orin NX
Enable max clocks:
sudo jetson_clocks
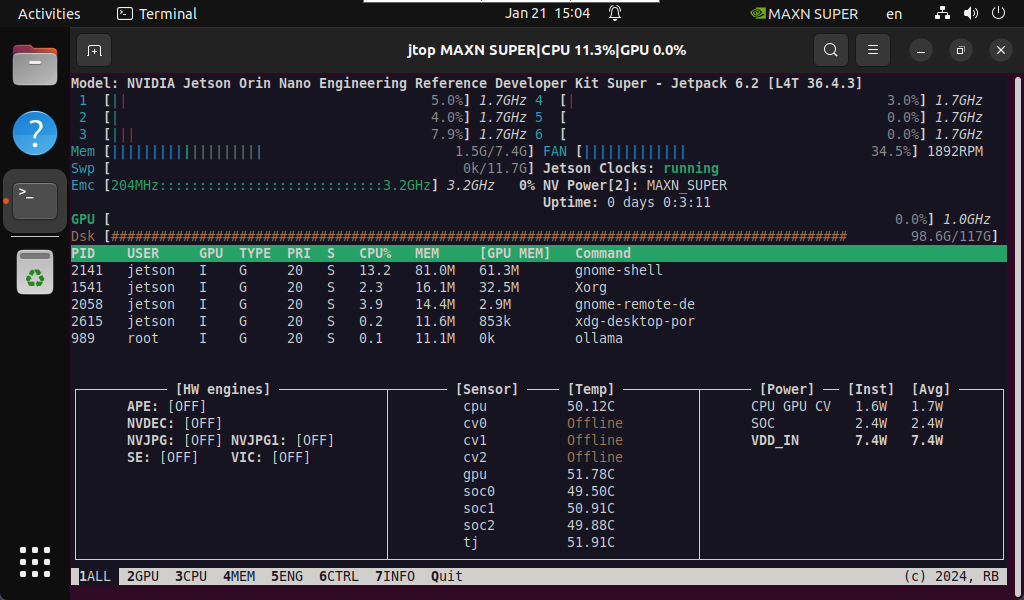
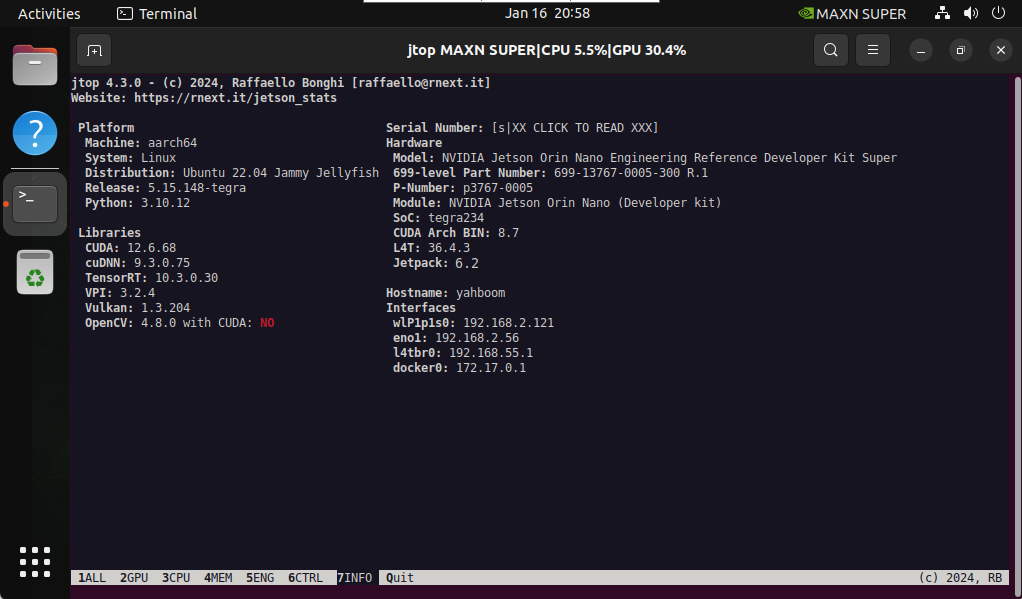
Check status:
jtop