05-Image Cropping with OpenCV
This section explains how to crop an image using OpenCV by slicing the underlying NumPy array.
Image cropping is commonly used for: - Extracting regions of interest (ROI) - Preprocessing data for computer vision models - Removing unnecessary background areas
1. Implementation Principle
An image loaded with OpenCV is stored as a NumPy array.
Cropping is performed by slicing the array using the format:
image[start_row:end_row, start_col:end_col]
This operation creates a new image containing only the selected region.
2. Implementation Effect
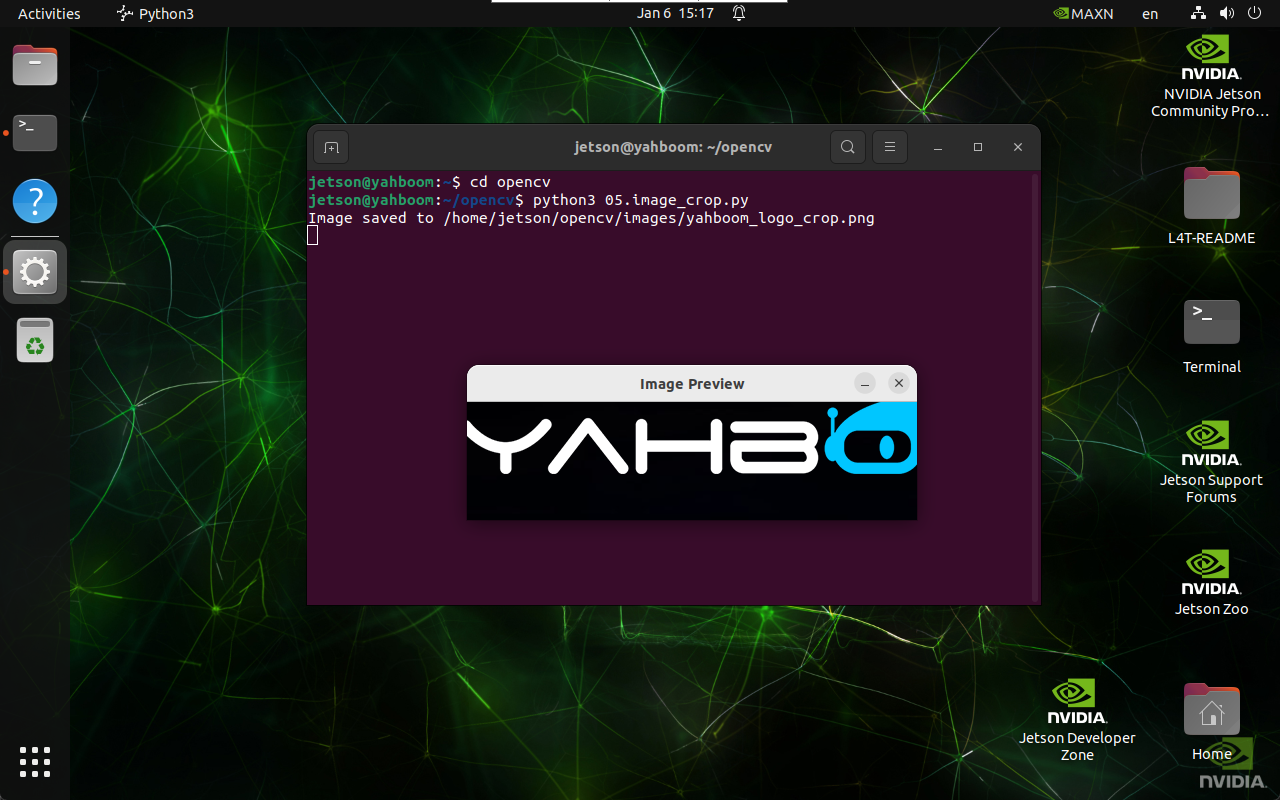
Navigate to the OpenCV working directory:
cd ~/opencv
Run the image cropping script:
python3 05.image_crop.py
note
Select the image window and press q to exit the program.
3. Implementation Code
import cv2

def crop_image(input_path, output_path, start_row, start_col, end_row, end_col):
    image = cv2.imread(input_path)

    if image is None:
        print("Error: Unable to open image file.")
        return

    # Crop the image using NumPy slicing
    cropped_image = image[start_row:end_row, start_col:end_col]

    if cv2.imwrite(output_path, cropped_image):
        print(f"Image saved to {output_path}")
        cv2.imshow('Image Preview', cv2.imread(output_path))
        cv2.waitKey(0)
        cv2.destroyAllWindows()
    else:
        print("Error: Unable to save image file.")

crop_image(
    '/home/jetson/opencv/images/hemihex_logo.png',
    '/home/jetson/opencv/images/hemihex_logo_crop.png',
    50, 50, 200, 500
)
4. Code Explanation
cv2.imread()loads the source image\- NumPy slicing selects the region of interest\
cv2.imwrite()saves the cropped image\- Display functions preview the result
Maintained by HemiHex for OpenCV-based image processing workflows.