02-Image Saving with OpenCV
This section explains both the concepts and a practical Python example for saving images to disk using OpenCV.
1. Implementation Principle
OpenCV provides the cv2.imwrite() API to save images.
- Returns
Trueif the image is saved successfully\ - Supports common formats such as
.png,.jpg,.bmp
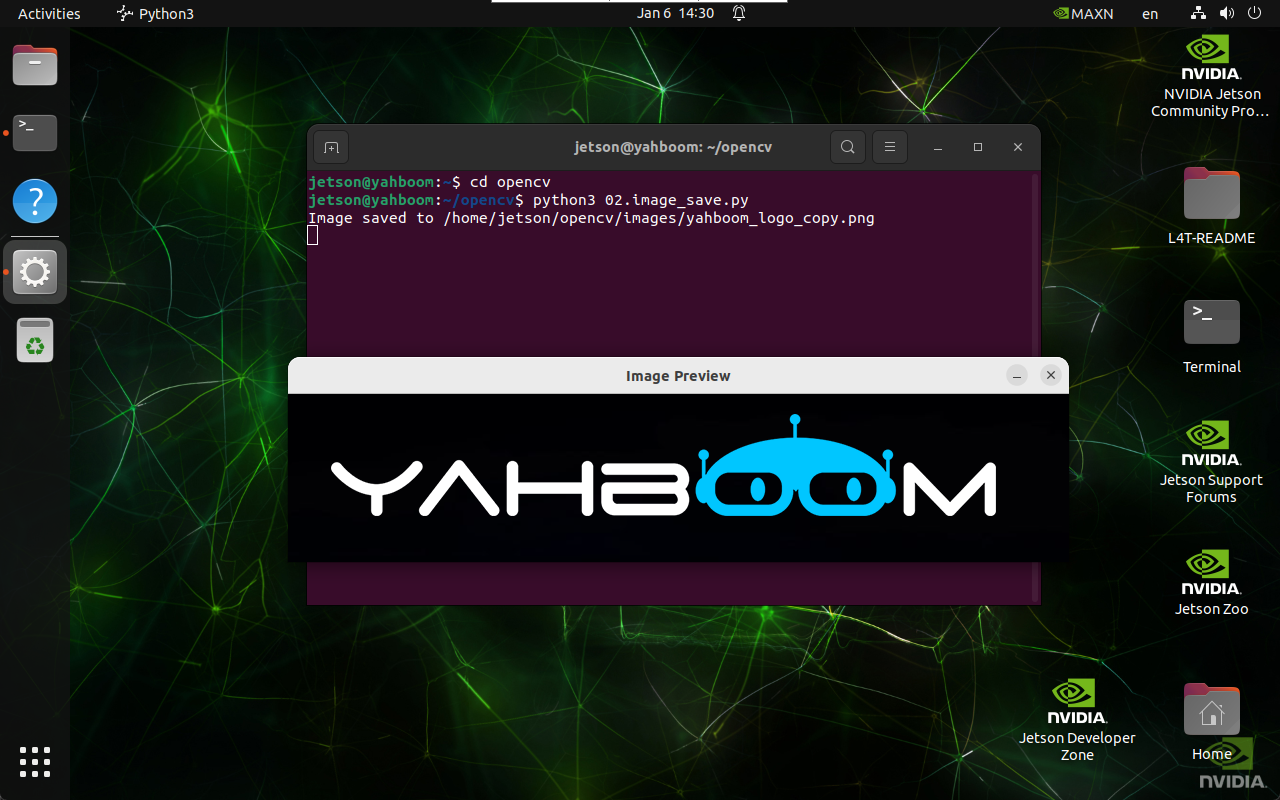
2. Implementation Effect
Navigate to the OpenCV working directory:
cd ~/opencv
Run the image saving script:
python3 02.image_save.py
note
Select the image display window and press q to exit the program.
3. Python Example Code
import cv2

def save_image(input_path, output_path):
    image = cv2.imread(input_path)

    if image is None:
        print("Error: Unable to open image file.")
        return

    if cv2.imwrite(output_path, image):
        print(f"Image saved to {output_path}")
        cv2.imshow('Image Preview', cv2.imread(output_path))
        cv2.waitKey(0)
        cv2.destroyAllWindows()
    else:
        print("Error: Unable to save image file.")

save_image(
    '/home/jetson/opencv/images/hemihex_logo.png',
    '/home/jetson/opencv/images/hemihex_logo_copy.png'
)
4. Code Explanation
cv2.imread()reads the source image from disk\cv2.imwrite()saves the image to the specified path\- Display functions are used to preview the saved image
Maintained by HemiHex for OpenCV-based image processing workflows.