18-Preview CSI Camera Image
This section explains how to preview live images from a CSI camera
(such as a Raspberry Pi CSI camera) using OpenCV and jetcam on NVIDIA
Jetson platforms.
Previewing a CSI camera is commonly used for: - Verifying CSI camera connectivity - Real-time image inspection - Jetson-based vision development and debugging
1. Implementation Principle
Use the CSICamera() class from the jetcam.csi_camera module to
capture images from a CSI camera.
The CSI camera provides frames directly without using /dev/video* in
the same way as USB cameras.
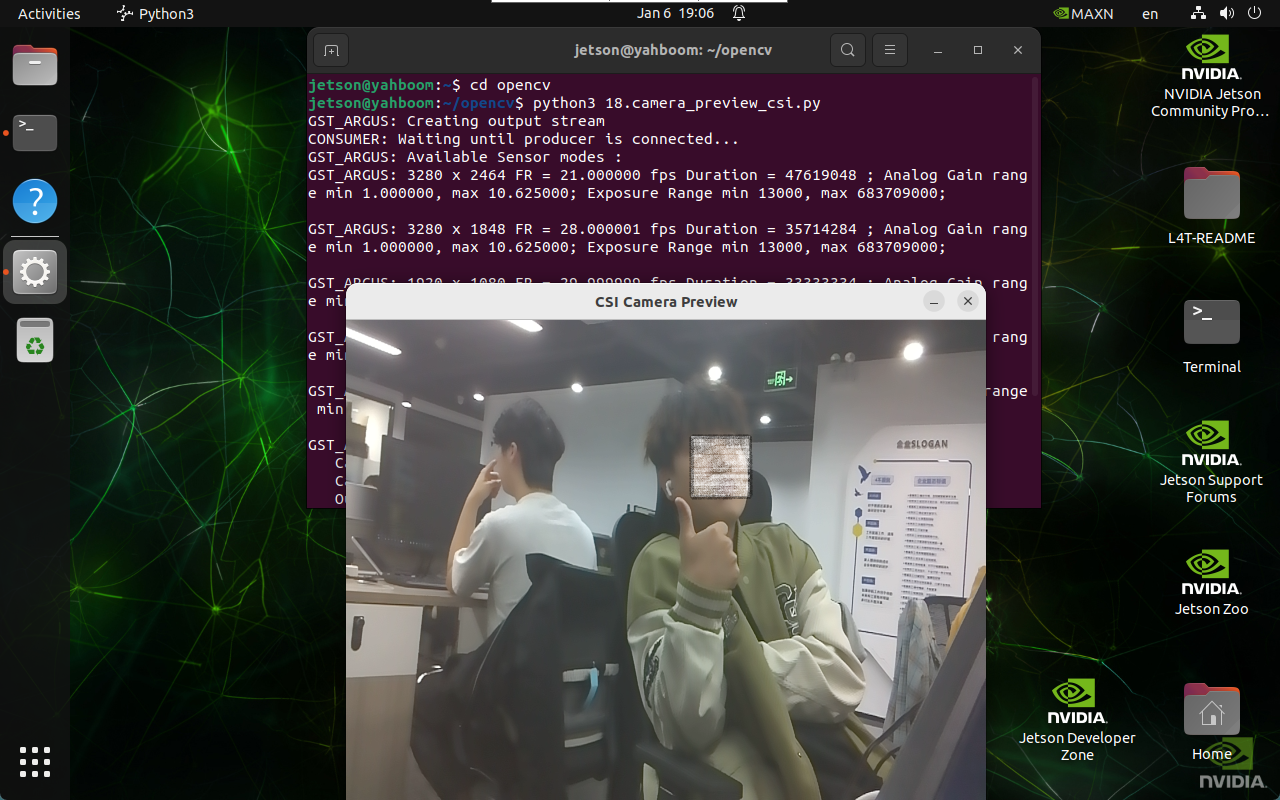
2. Implementation Effect
Navigate to the OpenCV working directory:
cd ~/opencv
Run the CSI camera preview script:
python3 18.camera_preview_csi.py
The program opens CSI camera 0 by default.
If multiple CSI cameras are available, modify the capture_device index
in the code.
Select the camera preview window and press q to exit the program.
3. Implementation Code
import cv2
from jetcam.csi_camera import CSICamera

def preview_csi_camera():
    cap = CSICamera(
        capture_device=0,
        width=640,
        height=480
    )

    while True:
        frame = cap.read()

        if frame is not None:
            cv2.imshow(
                'CSI Camera Preview',
                cv2.resize(frame, (640, 480))
            )

            if cv2.waitKey(1) & 0xFF == ord('q'):
                break
        else:
            print("Error: Could not open CSI camera.")
            break

    cap.release()
    cv2.destroyAllWindows()

preview_csi_camera()
4. Code Explanation
CSICamera(capture_device=0, width=640, height=480)initializes the CSI camera\cap.read()captures a frame\cv2.imshow()displays the live feed\cv2.waitKey(1)listens for keyboard input\cap.release()releases the camera
Maintained by HemiHex for Jetson and OpenCV-based computer vision workflows.