04-Image Scaling with OpenCV
This section explains how to resize images using OpenCV in Python.
Image scaling is commonly used for:
- Data preprocessing
- Input normalization for models
- Display optimization
- Reducing computational cost
1. Implementation Principle
OpenCV provides the cv2.resize() function to adjust image dimensions.
Key points:
- Target size can be specified directly
- The function returns a resized image
- Aspect ratio must be handled explicitly if required
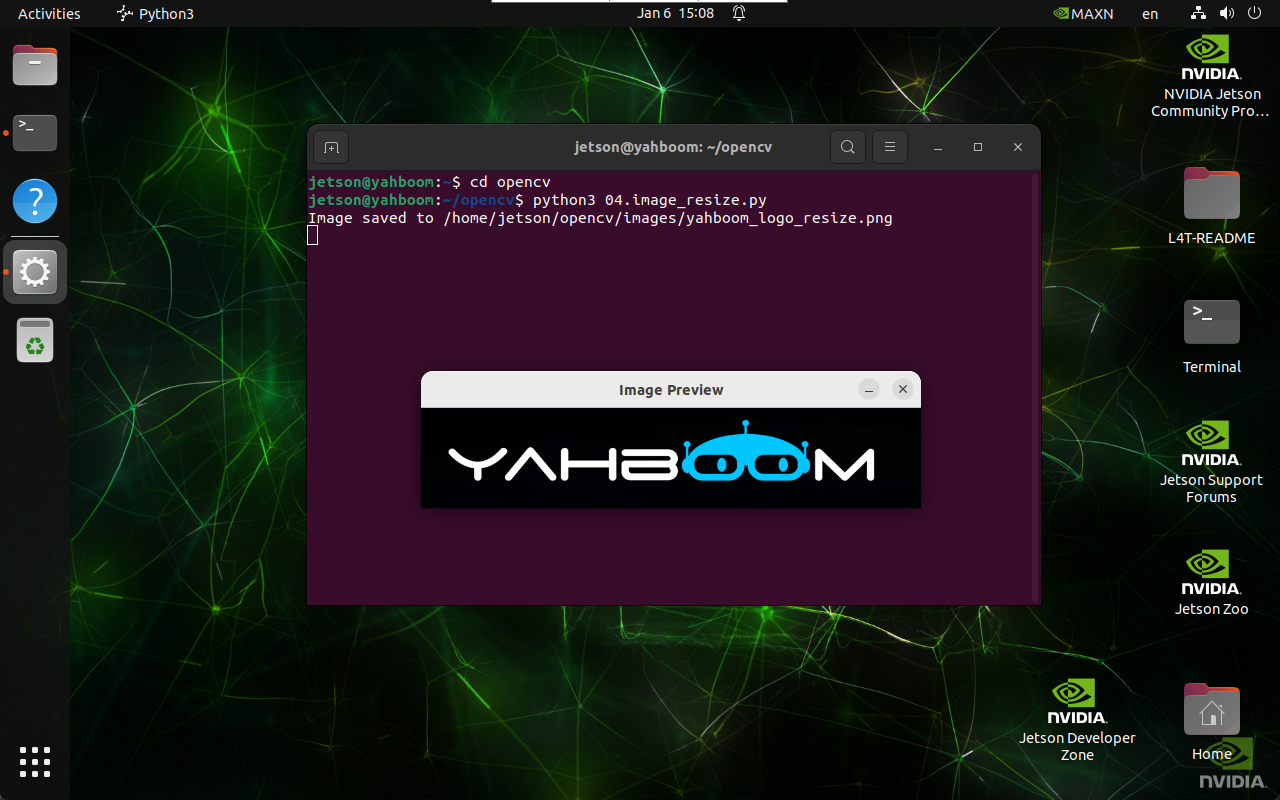
2. Implementation Effect
Navigate to the OpenCV working directory:
cd ~/opencv
Run the image scaling script:
python3 04.image_resize.py
note
Select the image window and press q to exit the program.
3. Implementation Code
import cv2

def resize_image(input_path, output_path, size):
    image = cv2.imread(input_path)

    if image is None:
        print("Error: Unable to open image file.")
        return

    resized_image = cv2.resize(image, size)

    if cv2.imwrite(output_path, resized_image):
        print(f"Image saved to {output_path}")
        cv2.imshow('Image Preview', cv2.imread(output_path))
        cv2.waitKey(0)
        cv2.destroyAllWindows()
    else:
        print("Error: Unable to save image file.")

resize_image(
    '/home/jetson/opencv/images/hemihex_logo.png',
    '/home/jetson/opencv/images/hemihex_logo_resize.png',
    (500, 100)
)
4. Code Explanation
cv2.imread()loads the source image\cv2.resize()resizes the image to(width, height)\cv2.imwrite()saves the resized image\- Display functions preview the result
Maintained by HemiHex for OpenCV-based image processing workflows.